Australian Military History
Podrobnosti kanálu
Australian Military History
Focusing on specific events, people and groups throughout the history of Australia at arms.http://bit.ly/australianmilitaryhistory-surveyamhp.media@gmail.compatreon.com/user?u=46029761 Hosted on Acast. See acast.com/privacy for more information.
Nedávné epizody
99 epizod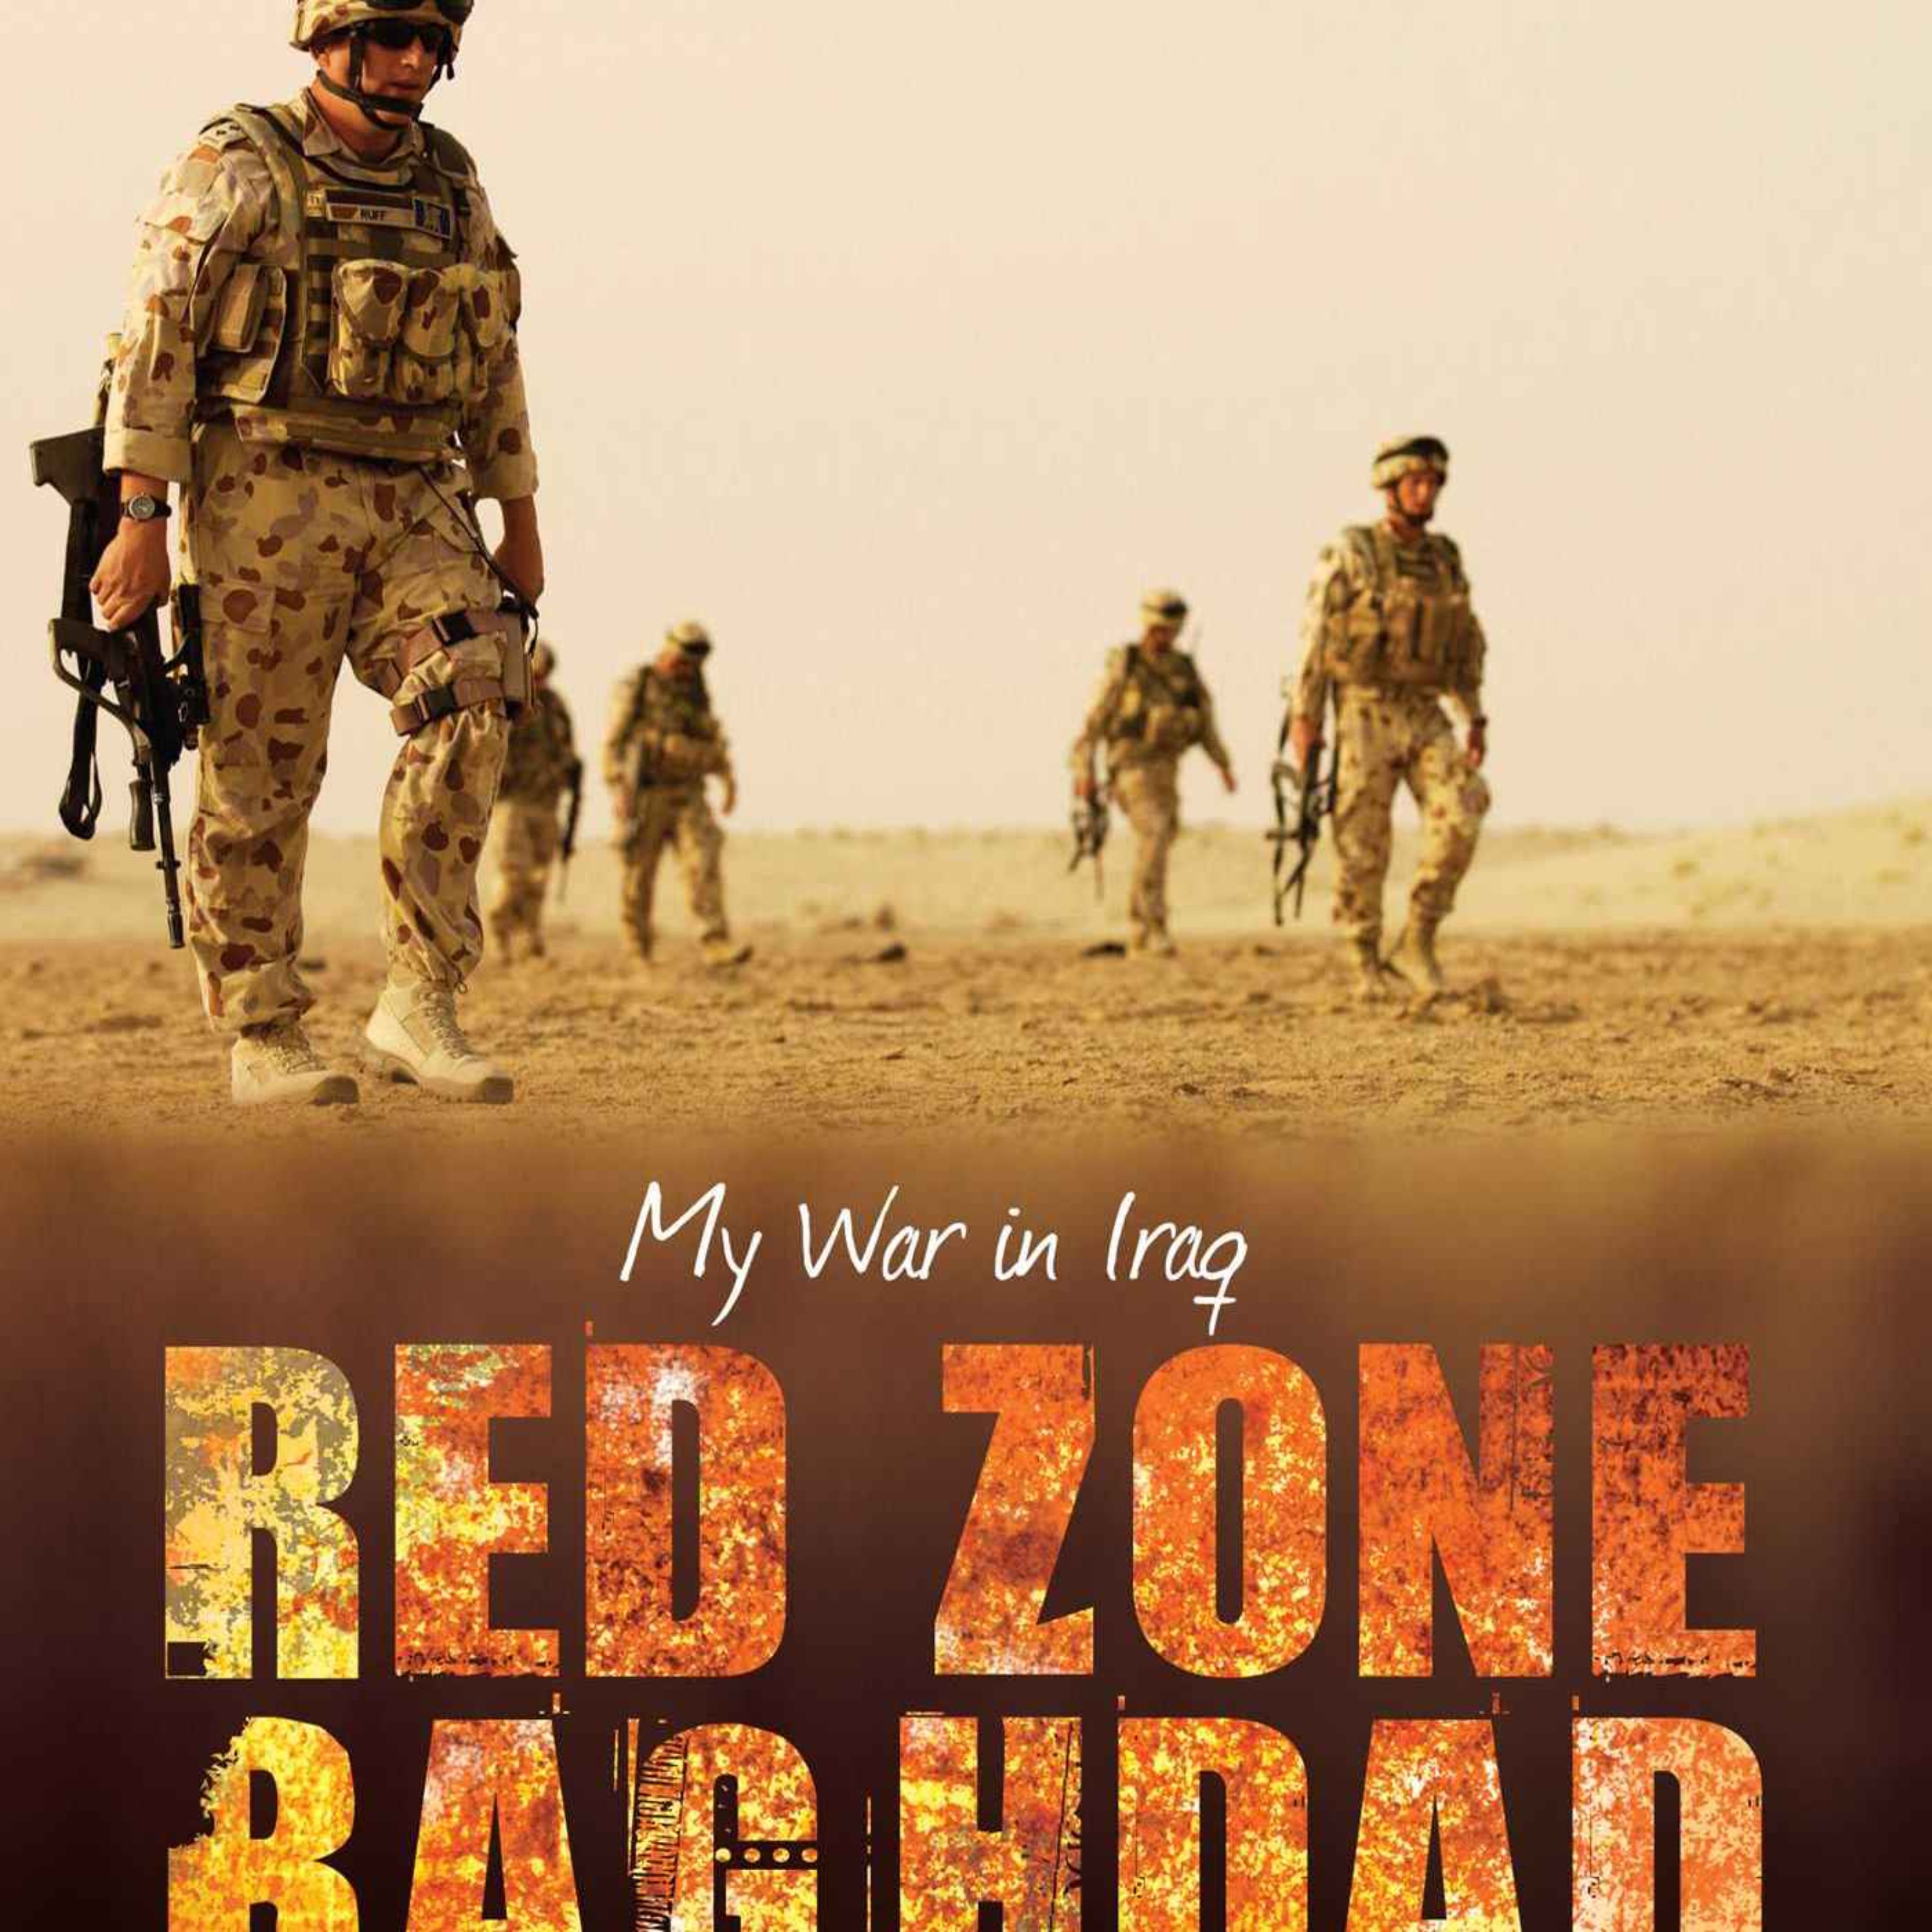
Interview - Marcus Fielding
Colonel Marcus Fielding spent nine months as an embedded Australian officer within the Coalition Forces Headquarters during the final stages of Austra...
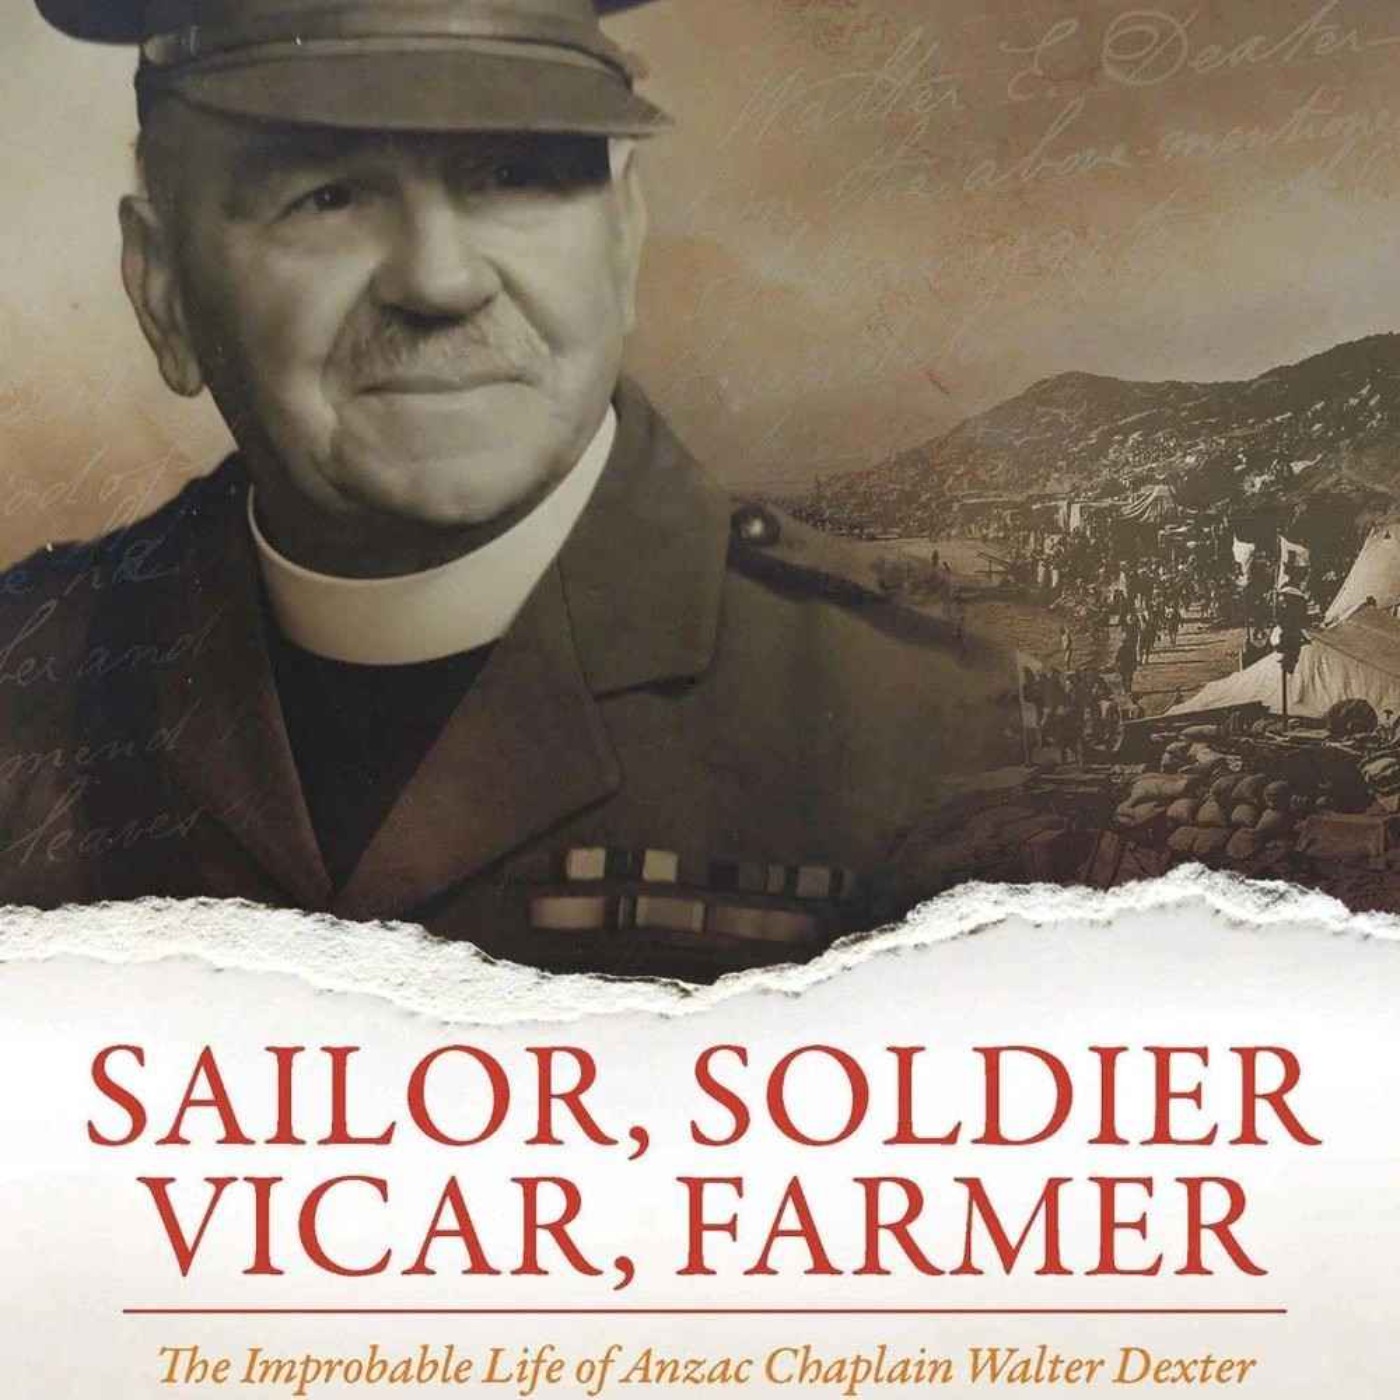
Walter Dexter - Military Chaplain
This episode we're looking at the work of the unsung heroes of every campaign which Australia has taken part in - the Military Chaplain. We're going t...
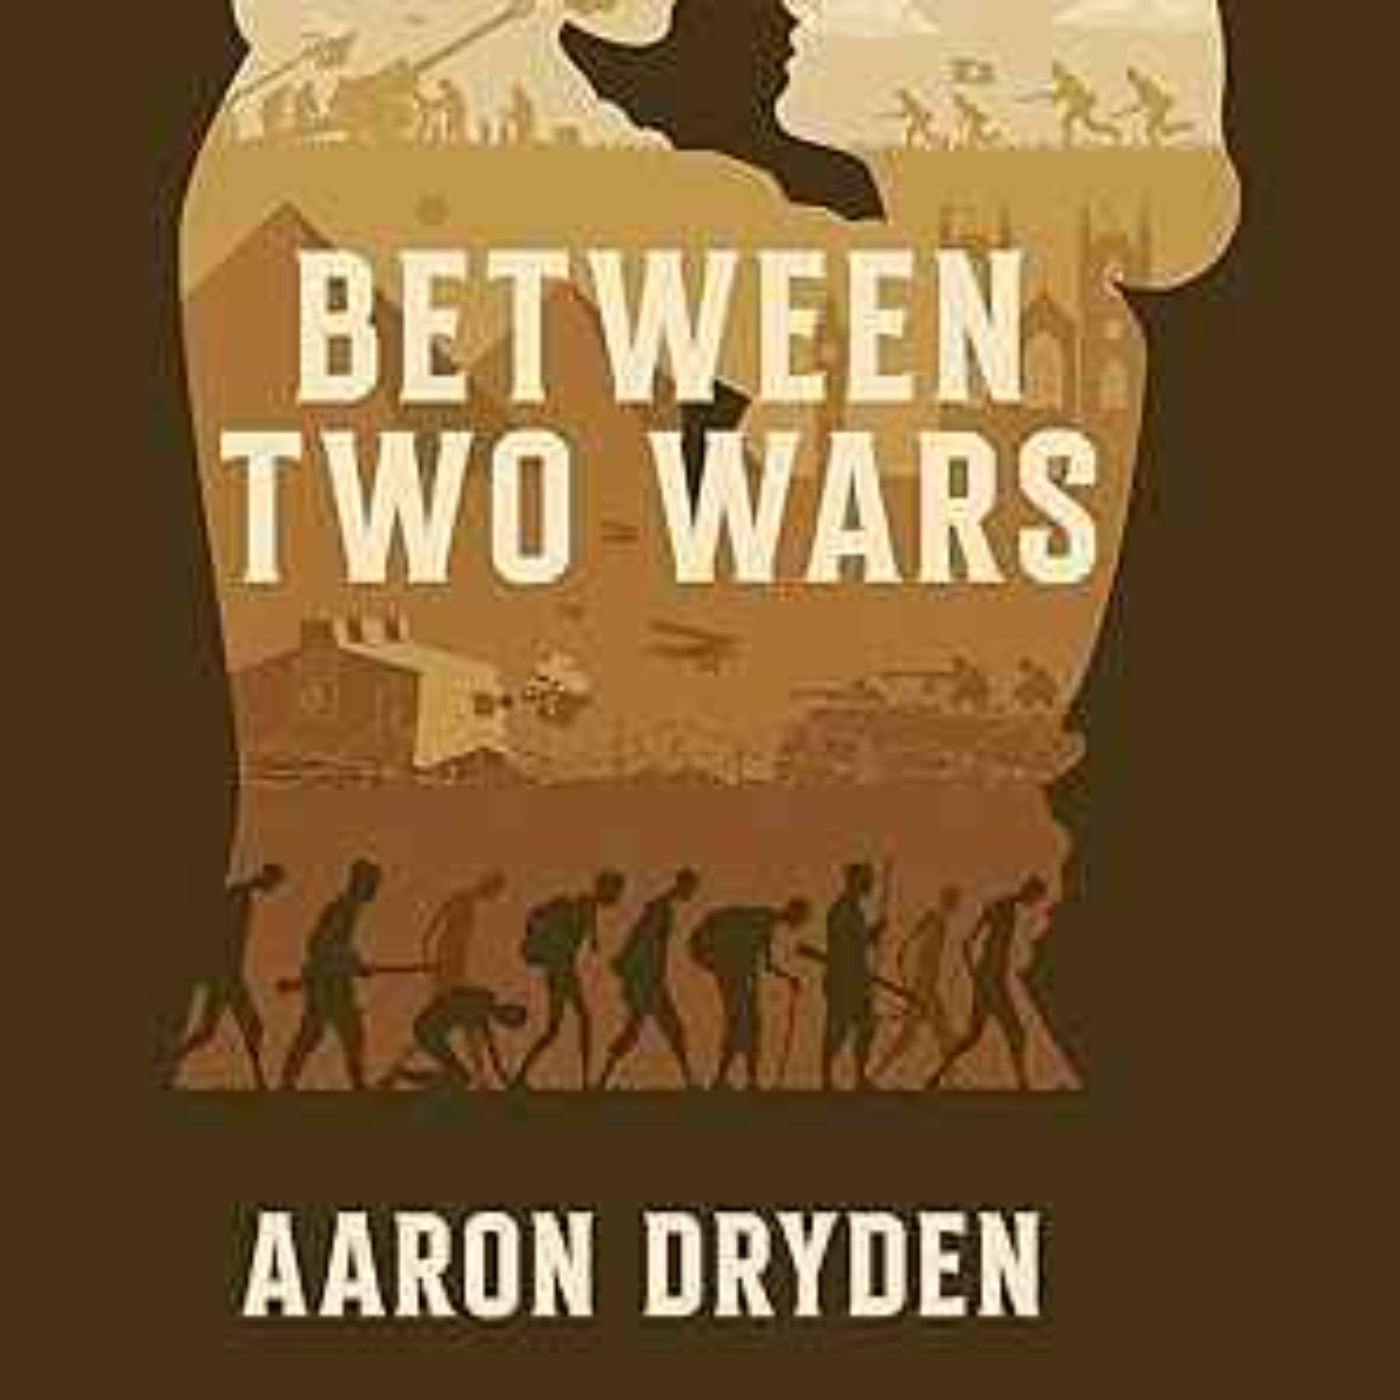
Interview - Aaron Dryden
In this bonus episode I interview Aaron Dryden about his book, Between Two Wars, based upon the story of his great grandfather's experiences through W...
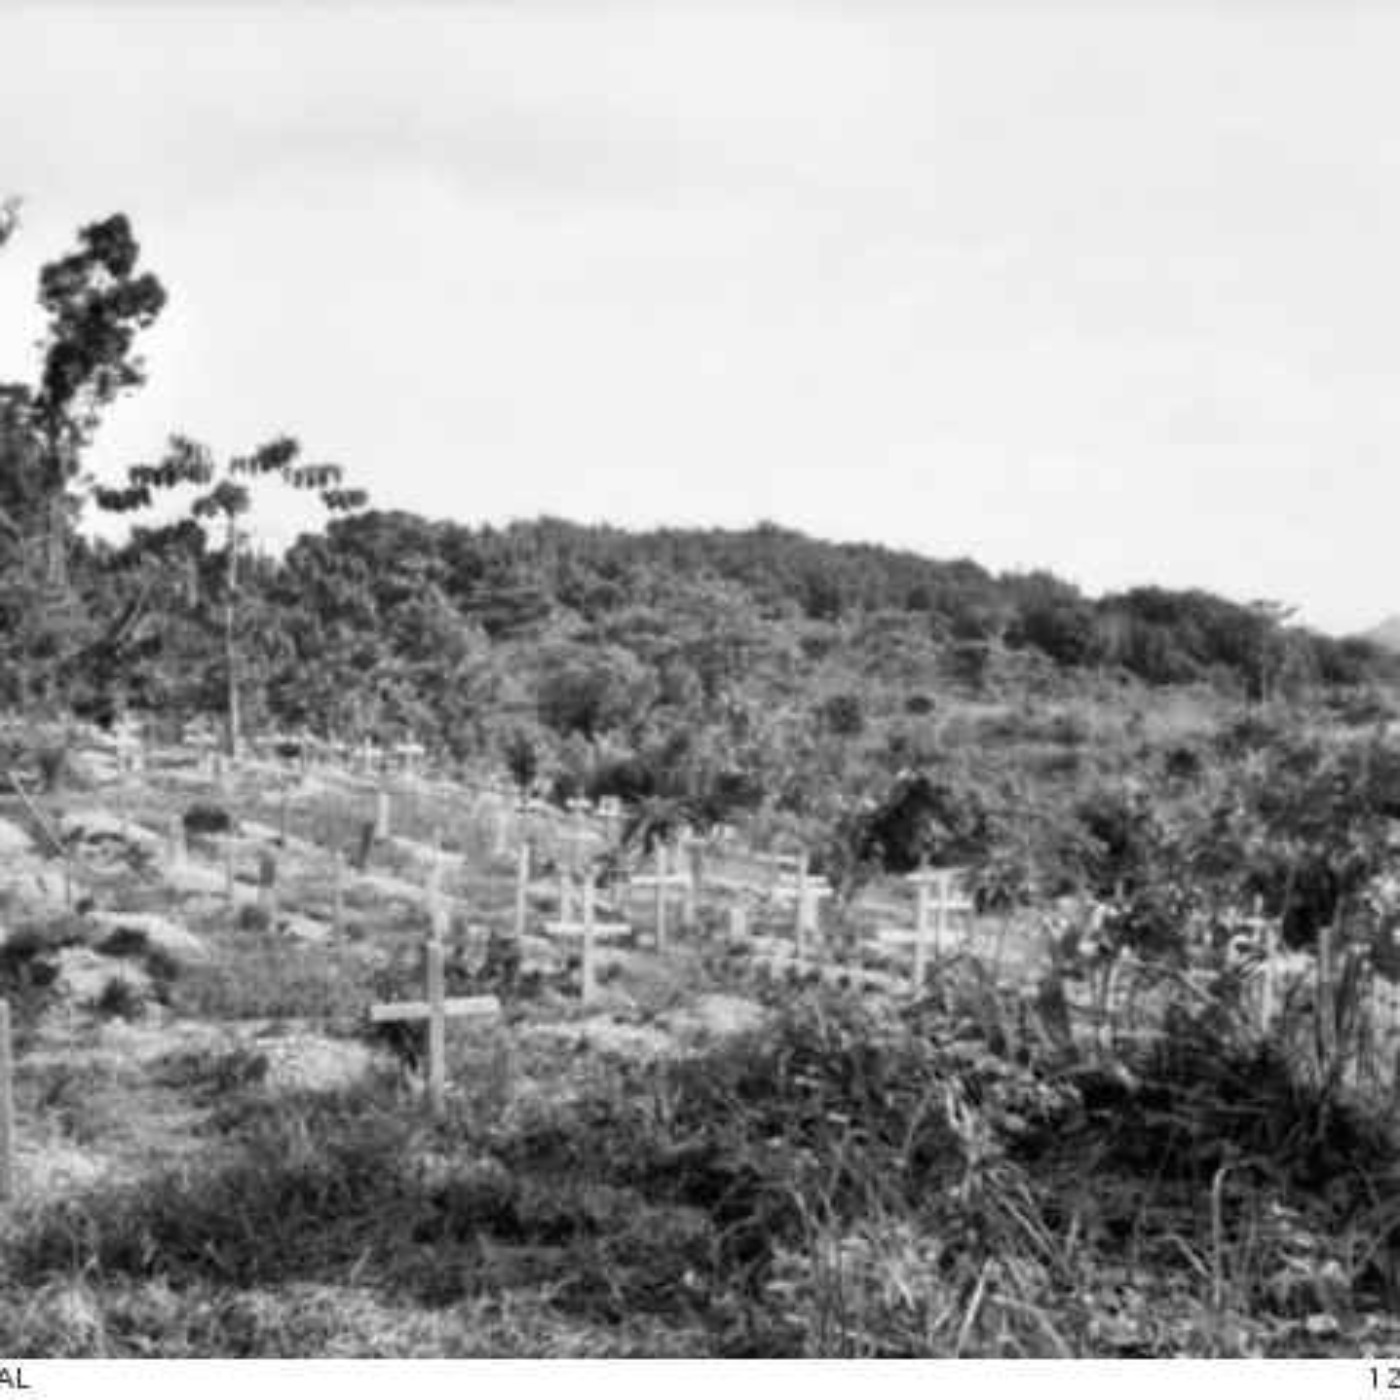
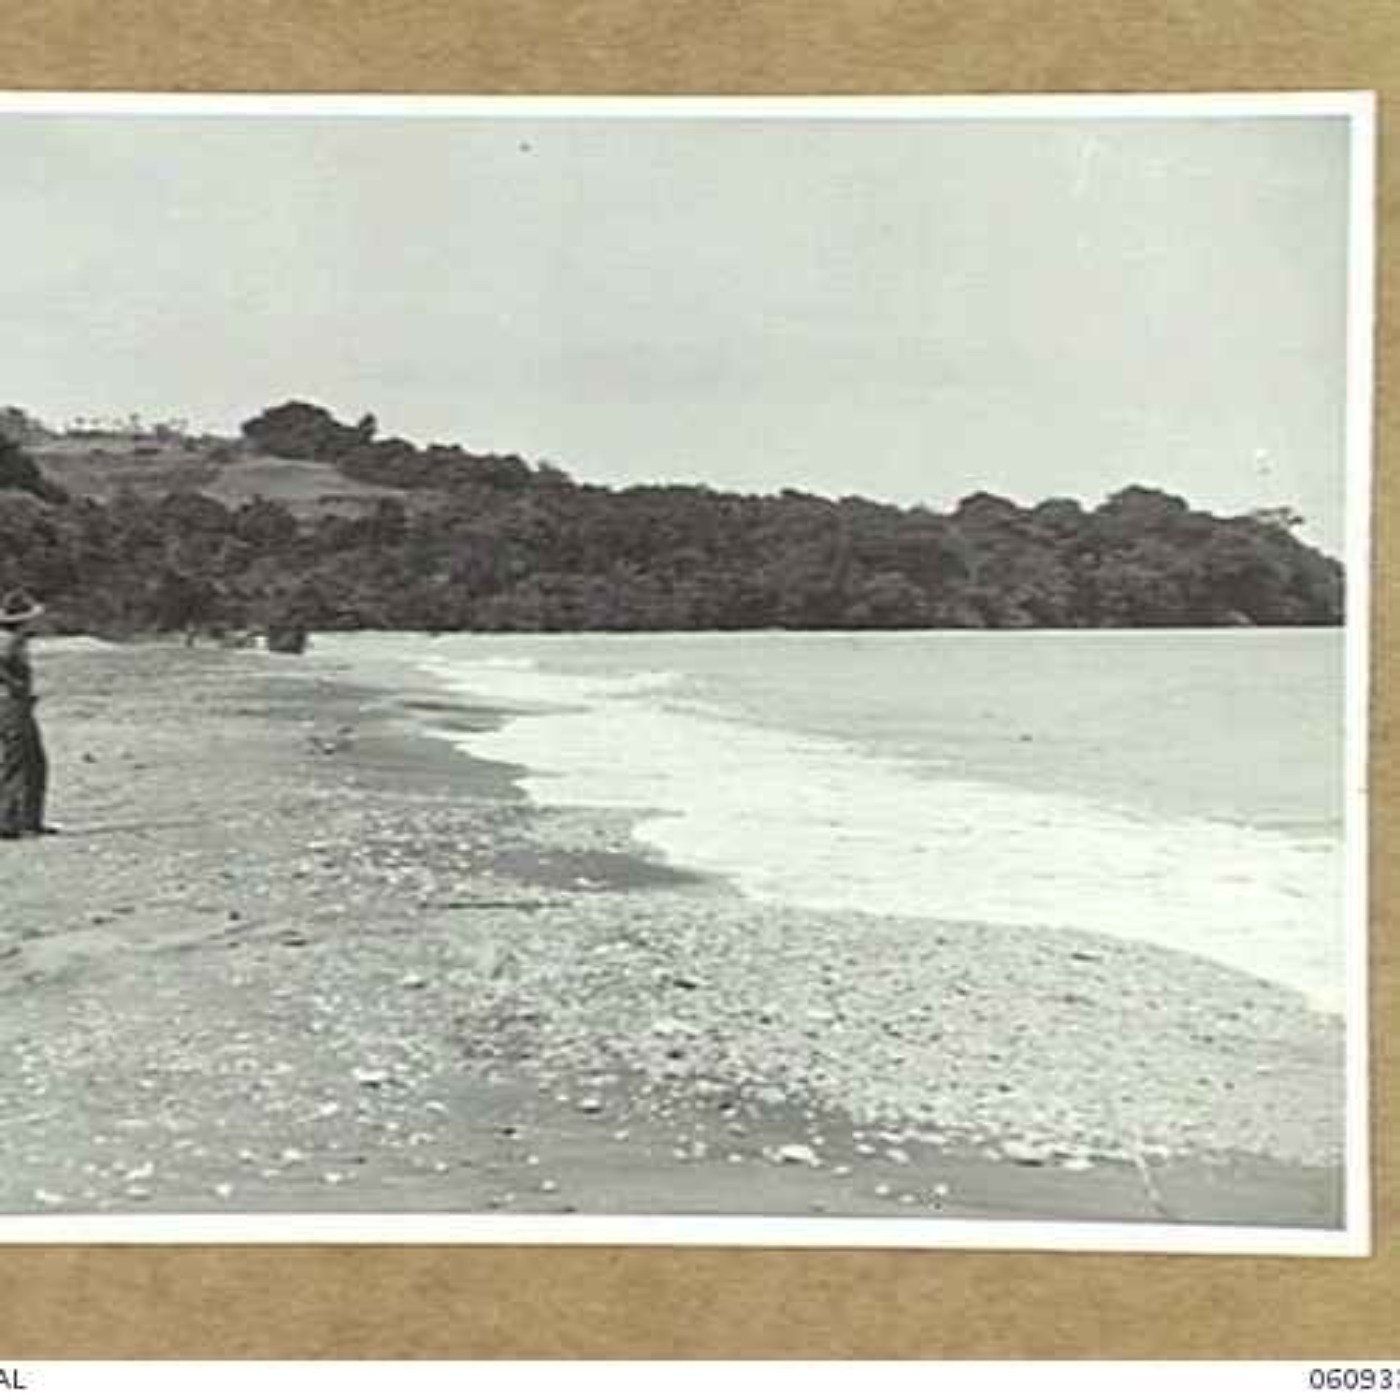
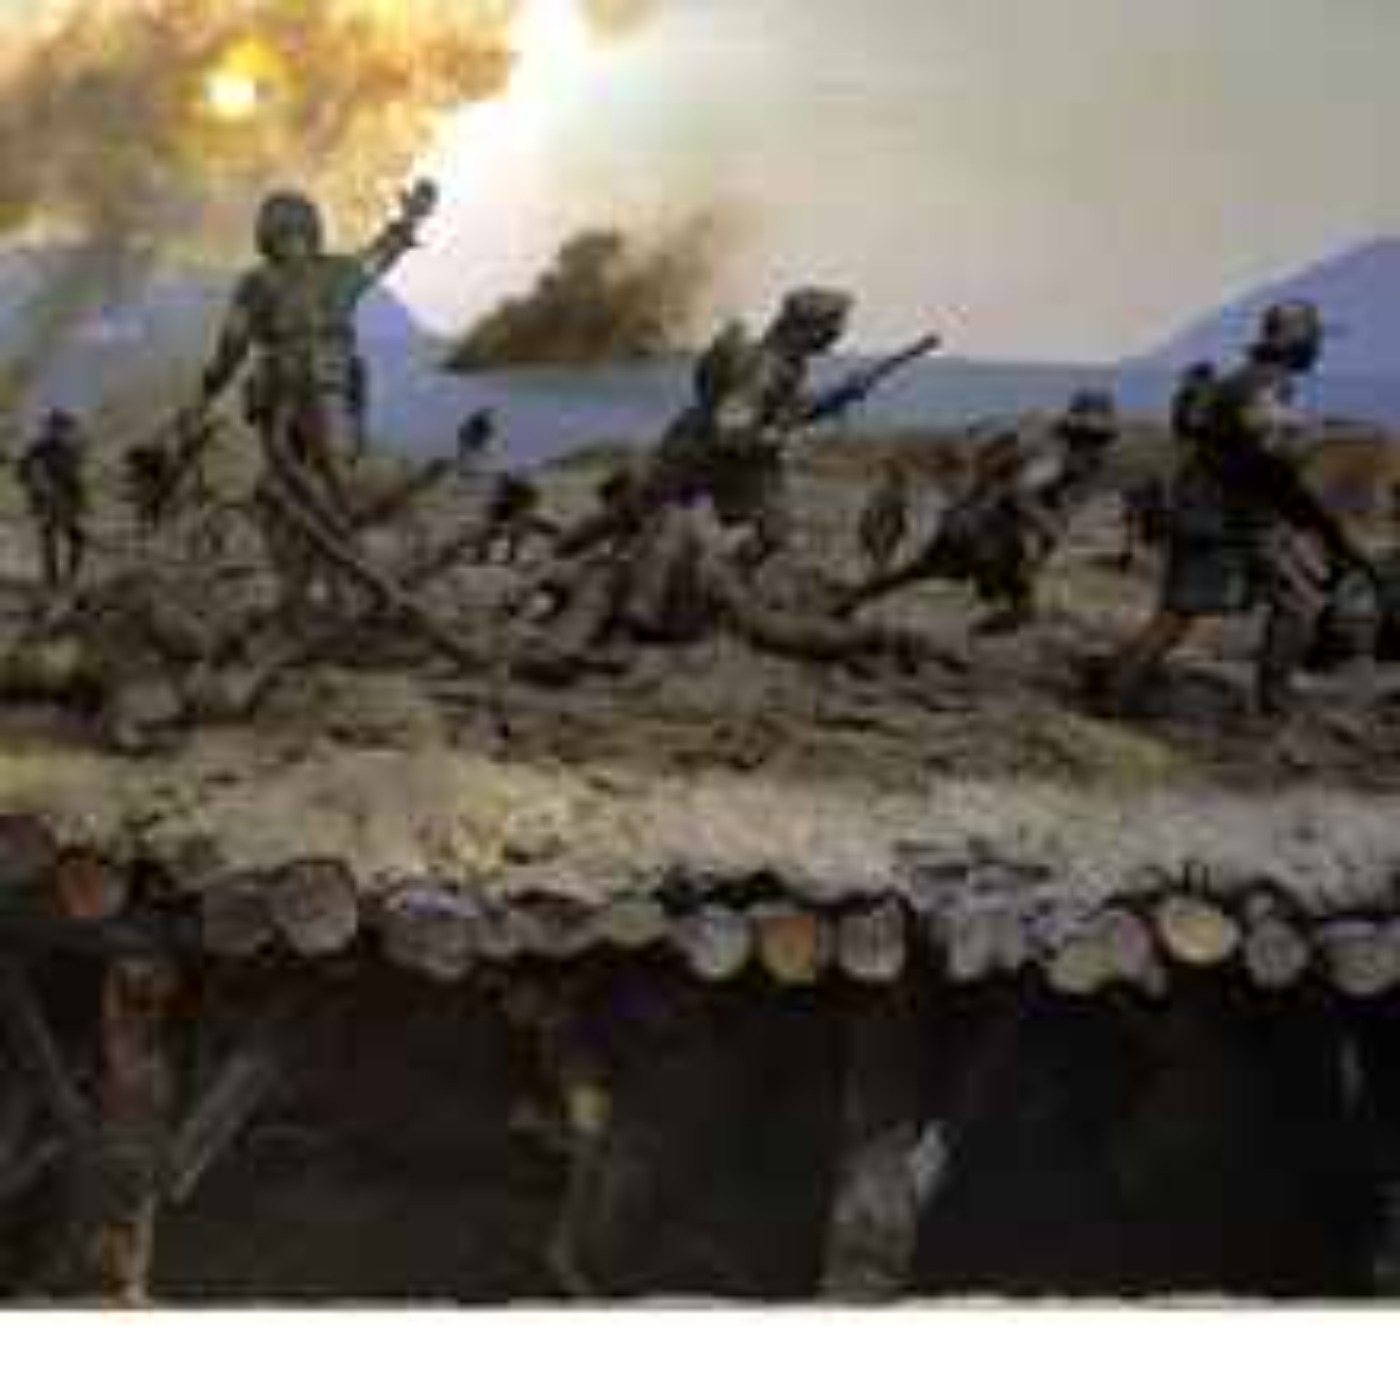
Sandakan
After the fall of Singapore 80 000 British, Indian and Australian troops became prisoners of the Japanese Imperial Army. Many of these men would be su...
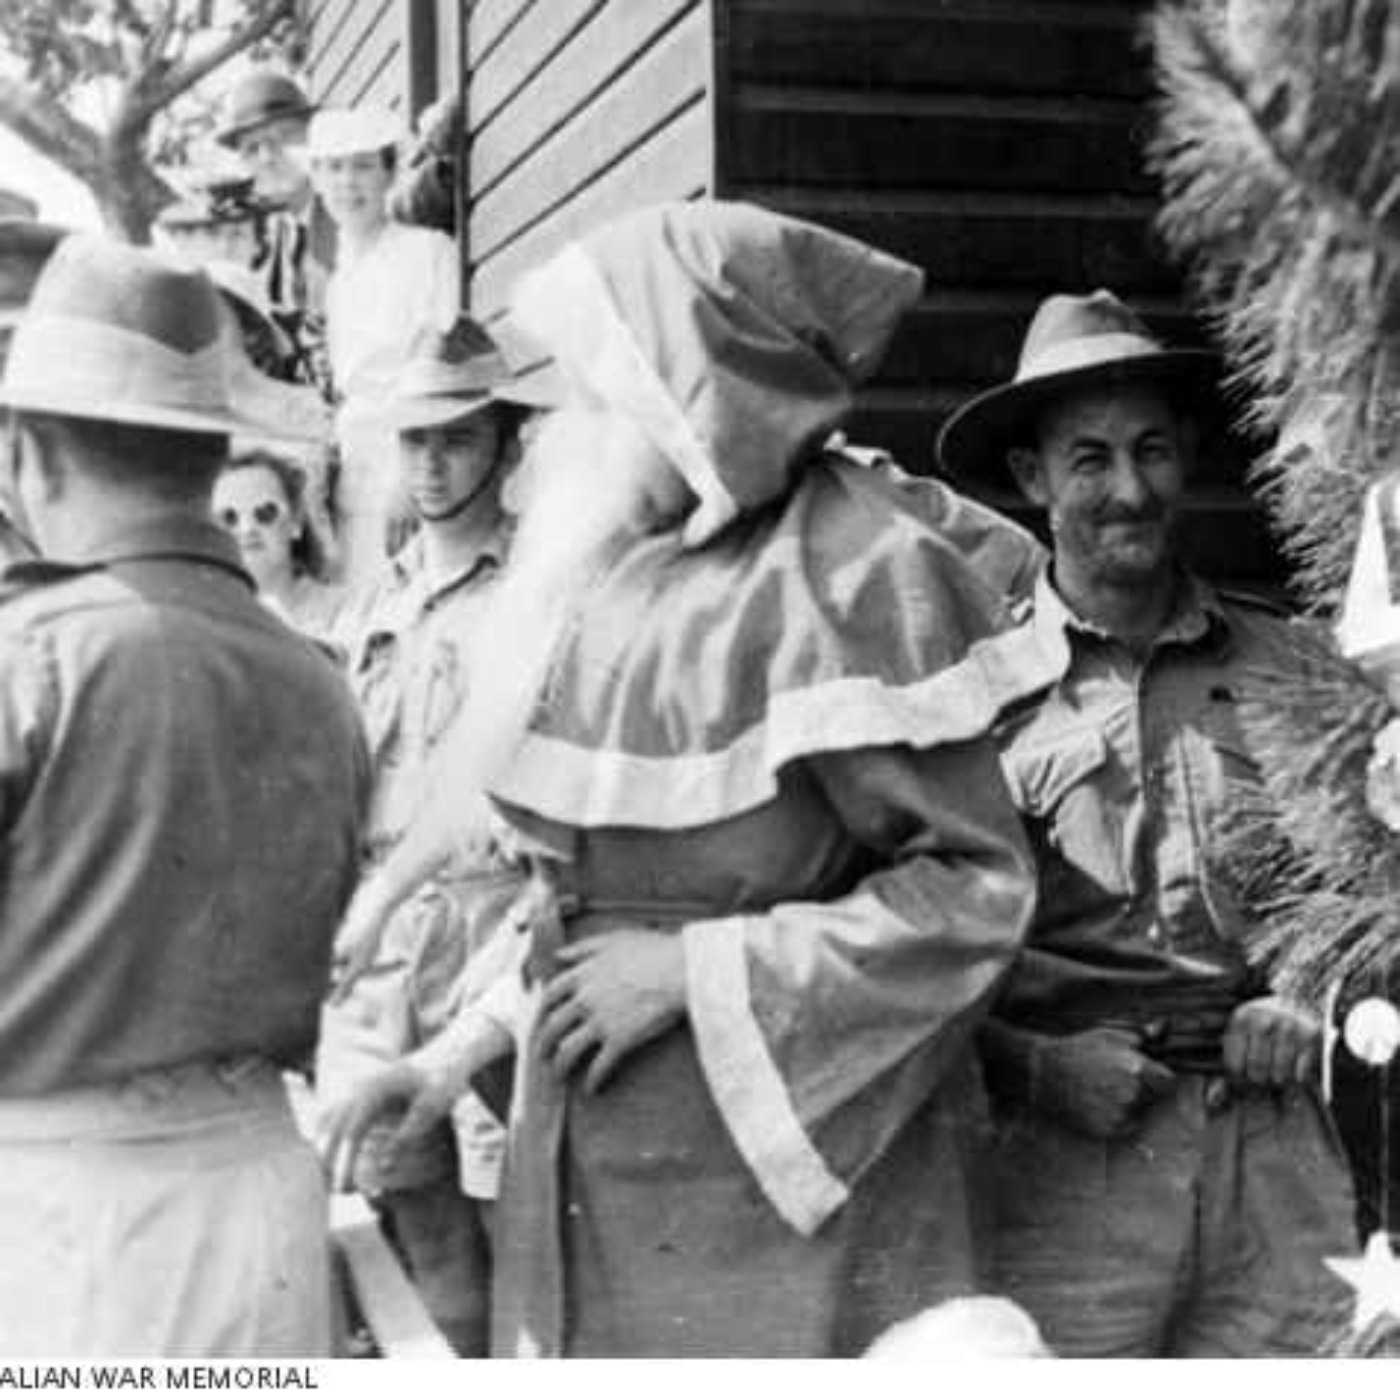
A Christmas Present
As promised in my last episode, I hereby present to you all a Christmas present to say thank you for your support throughout the year. Have a good one...

Pozieres - Taking the Village Part 3
Having advanced beyond the village of Pozieres, the 1st and 3rd Brigades of the 1st Division now attempted to realign themselves with the Old German (...

Pozieres
After securing the ground on the southern edge of Pozieres village, along the Bapaume Road, the 1st Australian Division was ordered to use patrols to...
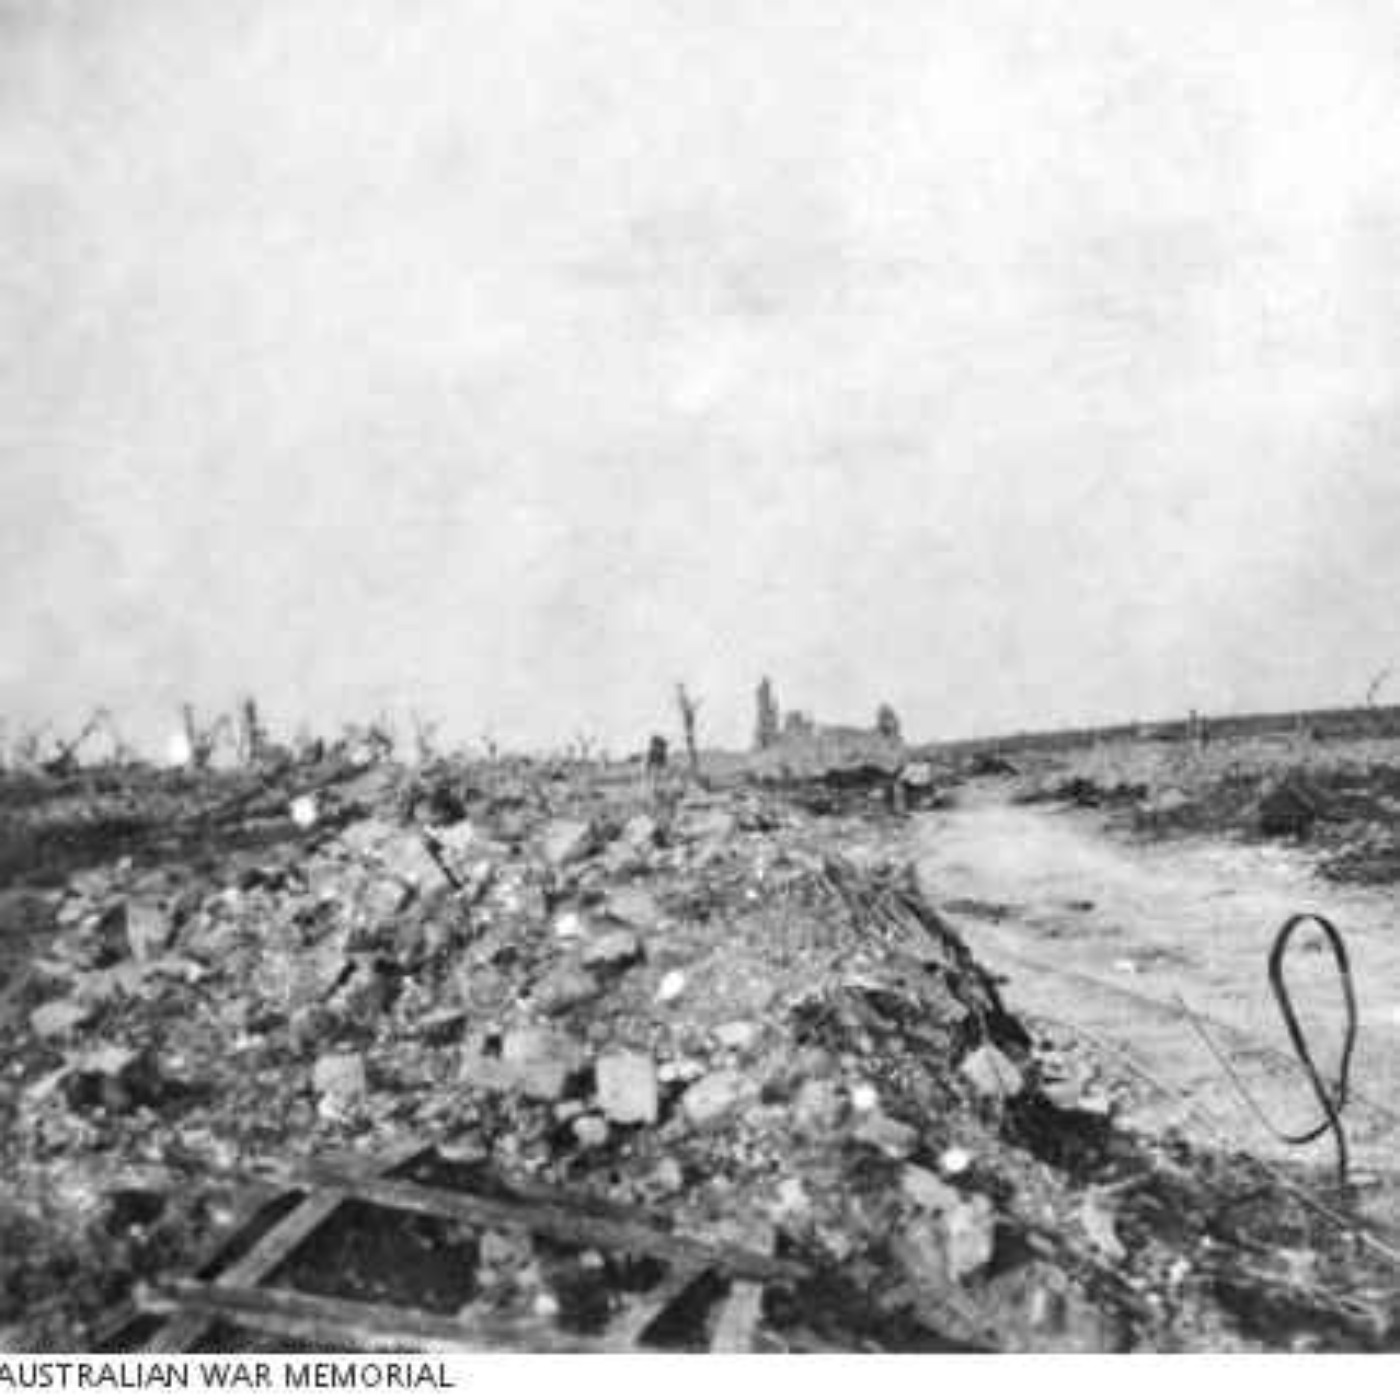
Pozieres
In 1916, the British launched the now infamous Battle of the Somme. Three weeks after the opening of the battle, the high ground around a small villag...

Interview - Roland Perry
I recently interviewed Roland Perry about his new book Oliphant, the biography of arguably Australia's greatest mind and a man who played an instrumen...
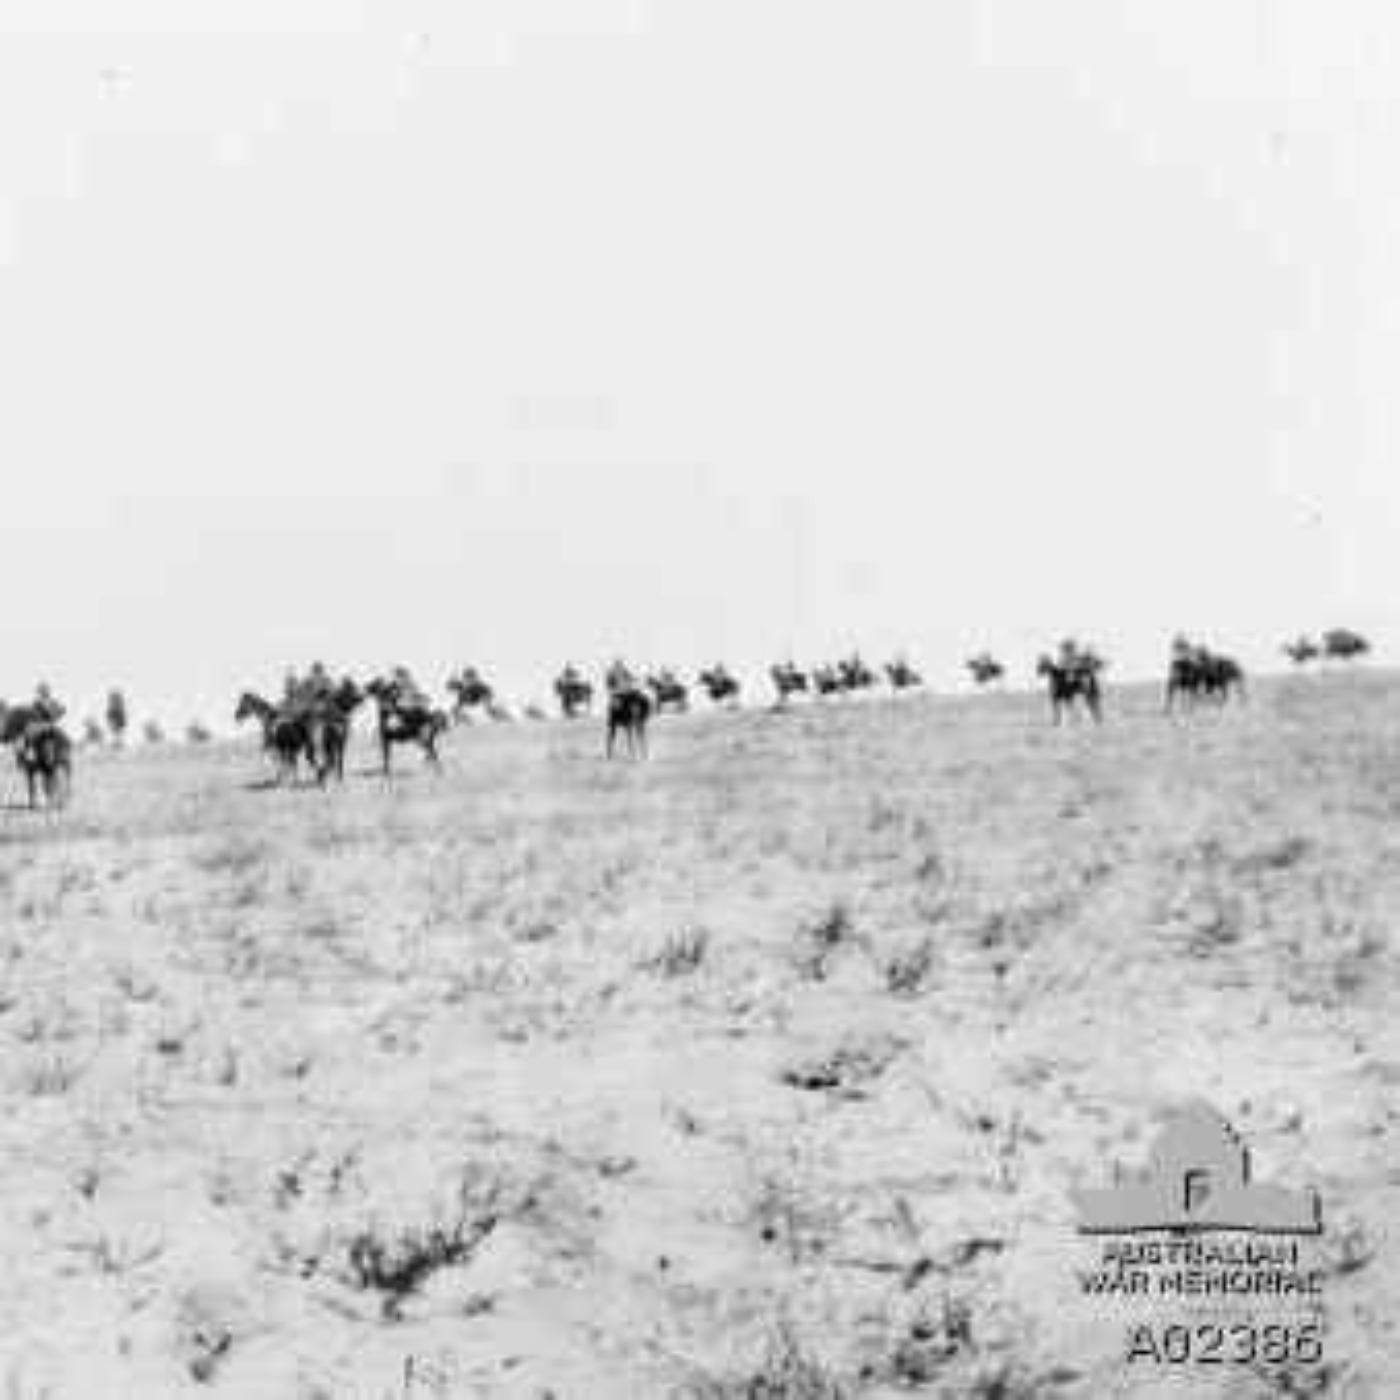
The Battle of Rafa
With the capture of Magdhaba and with El Arish more or less secured, the Desert Column was poised to leave the Sinai behind and entre Palestine. There...
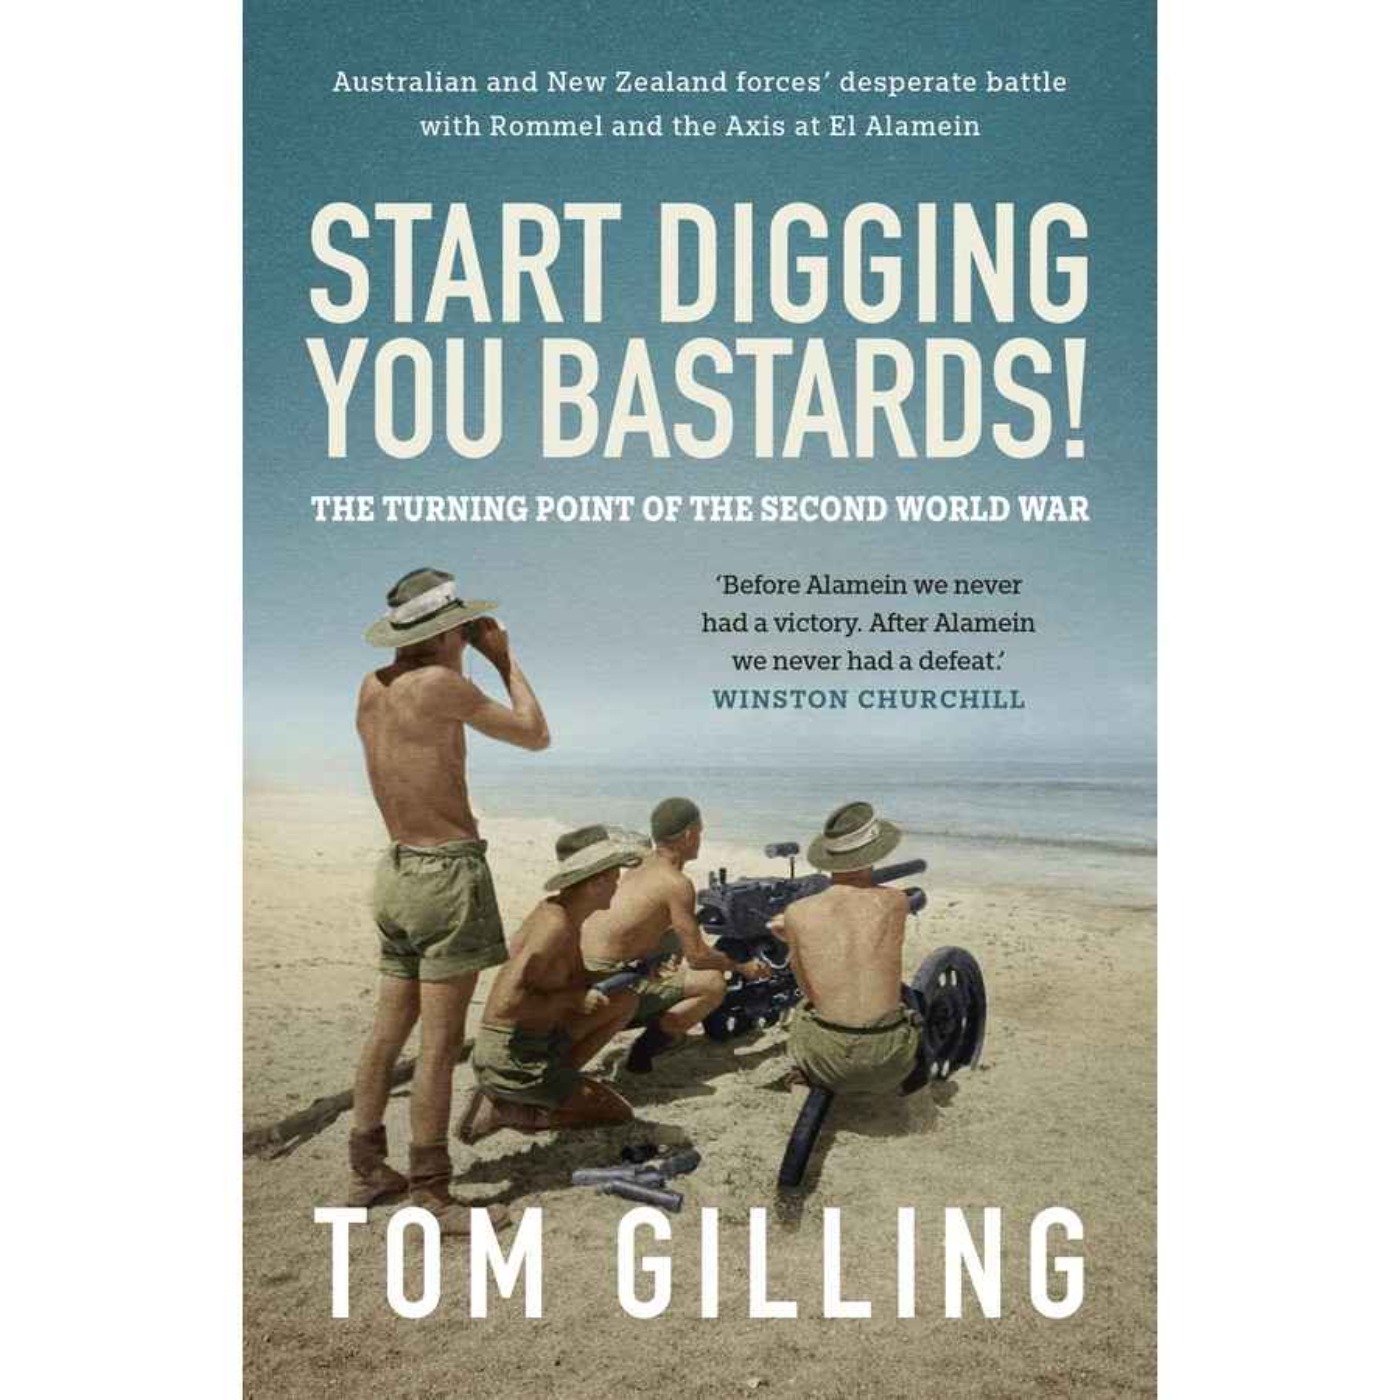
Interview - Tom Gilling
Start Digging You Bastards is the new book from Tom Gilling, following the deeds of the Australian 9th Division during the Battle of El Alamein. This...
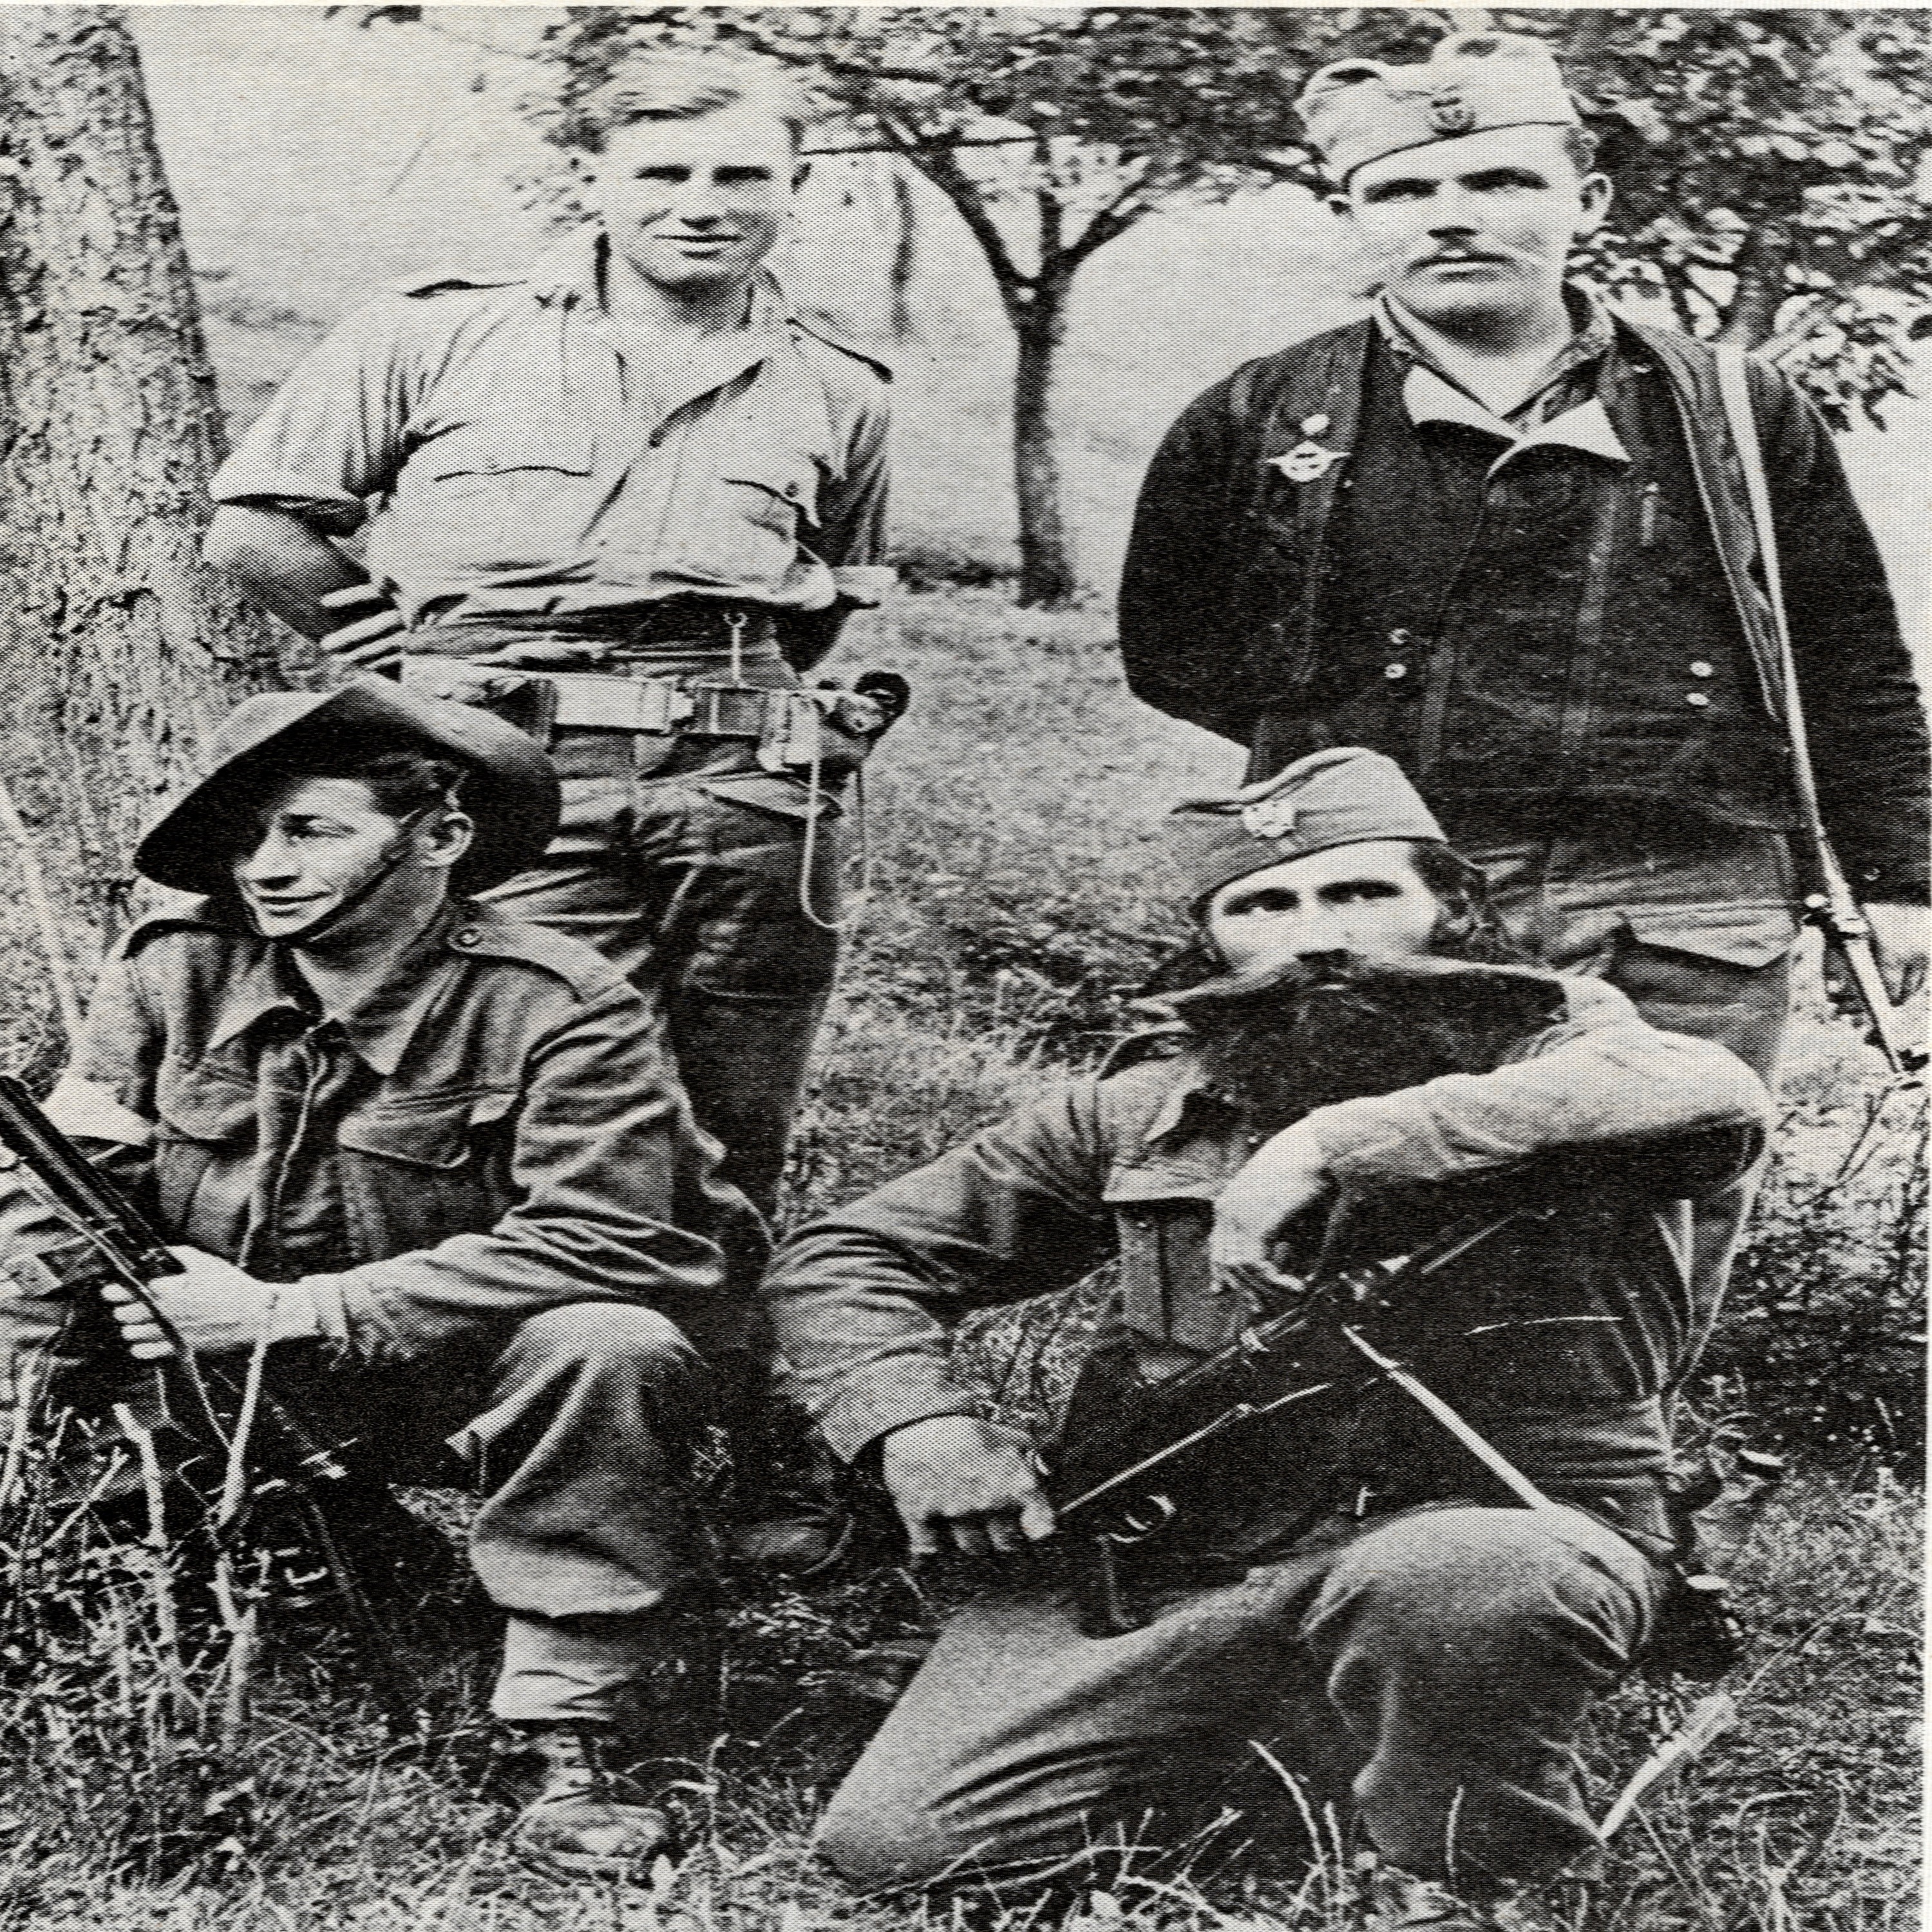
Guest Episode - Aussies In Yugoslavia
Something different this month as this is a topic I knew absolutely nothing about. Fortunately, someone who does know all about it is Edmund Goldrick,...
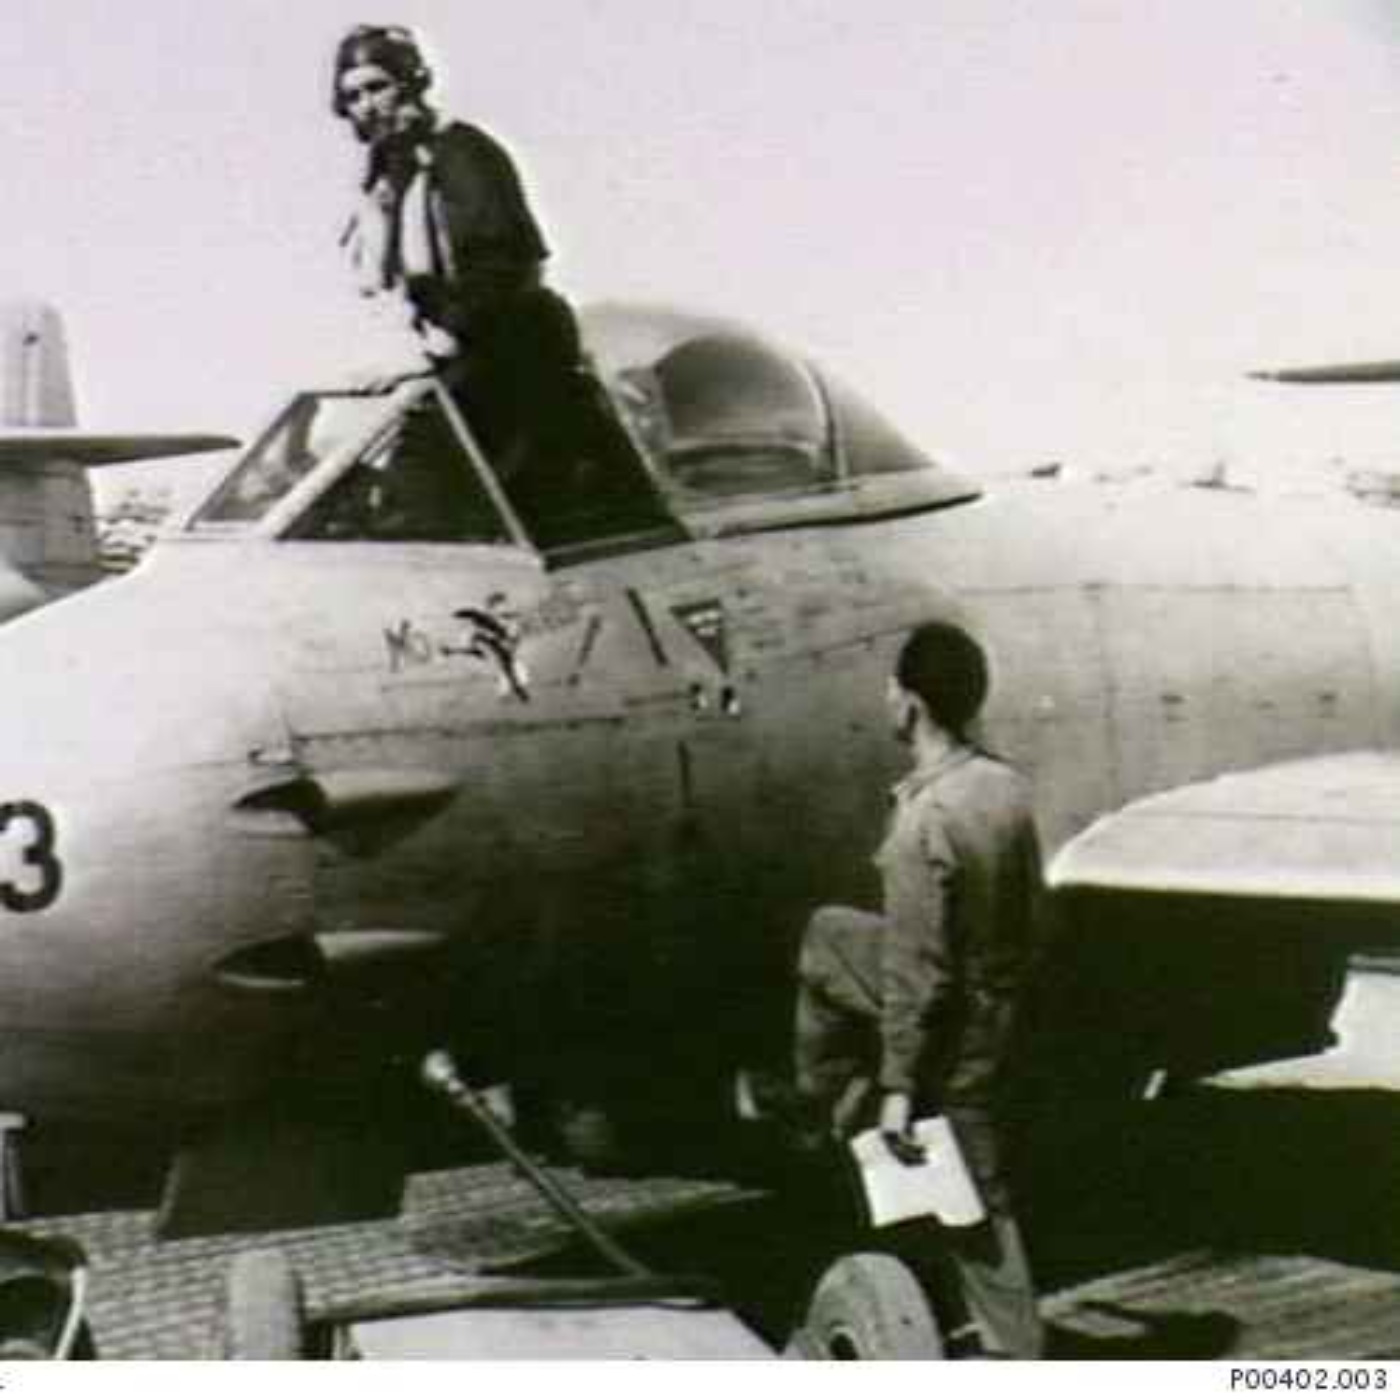
77th Squadron RAAF in Korea
At the outbreak of the Korean War, the 77th Squadron were just packing up to leave Japan after five years with the occupation forces. Within a week th...
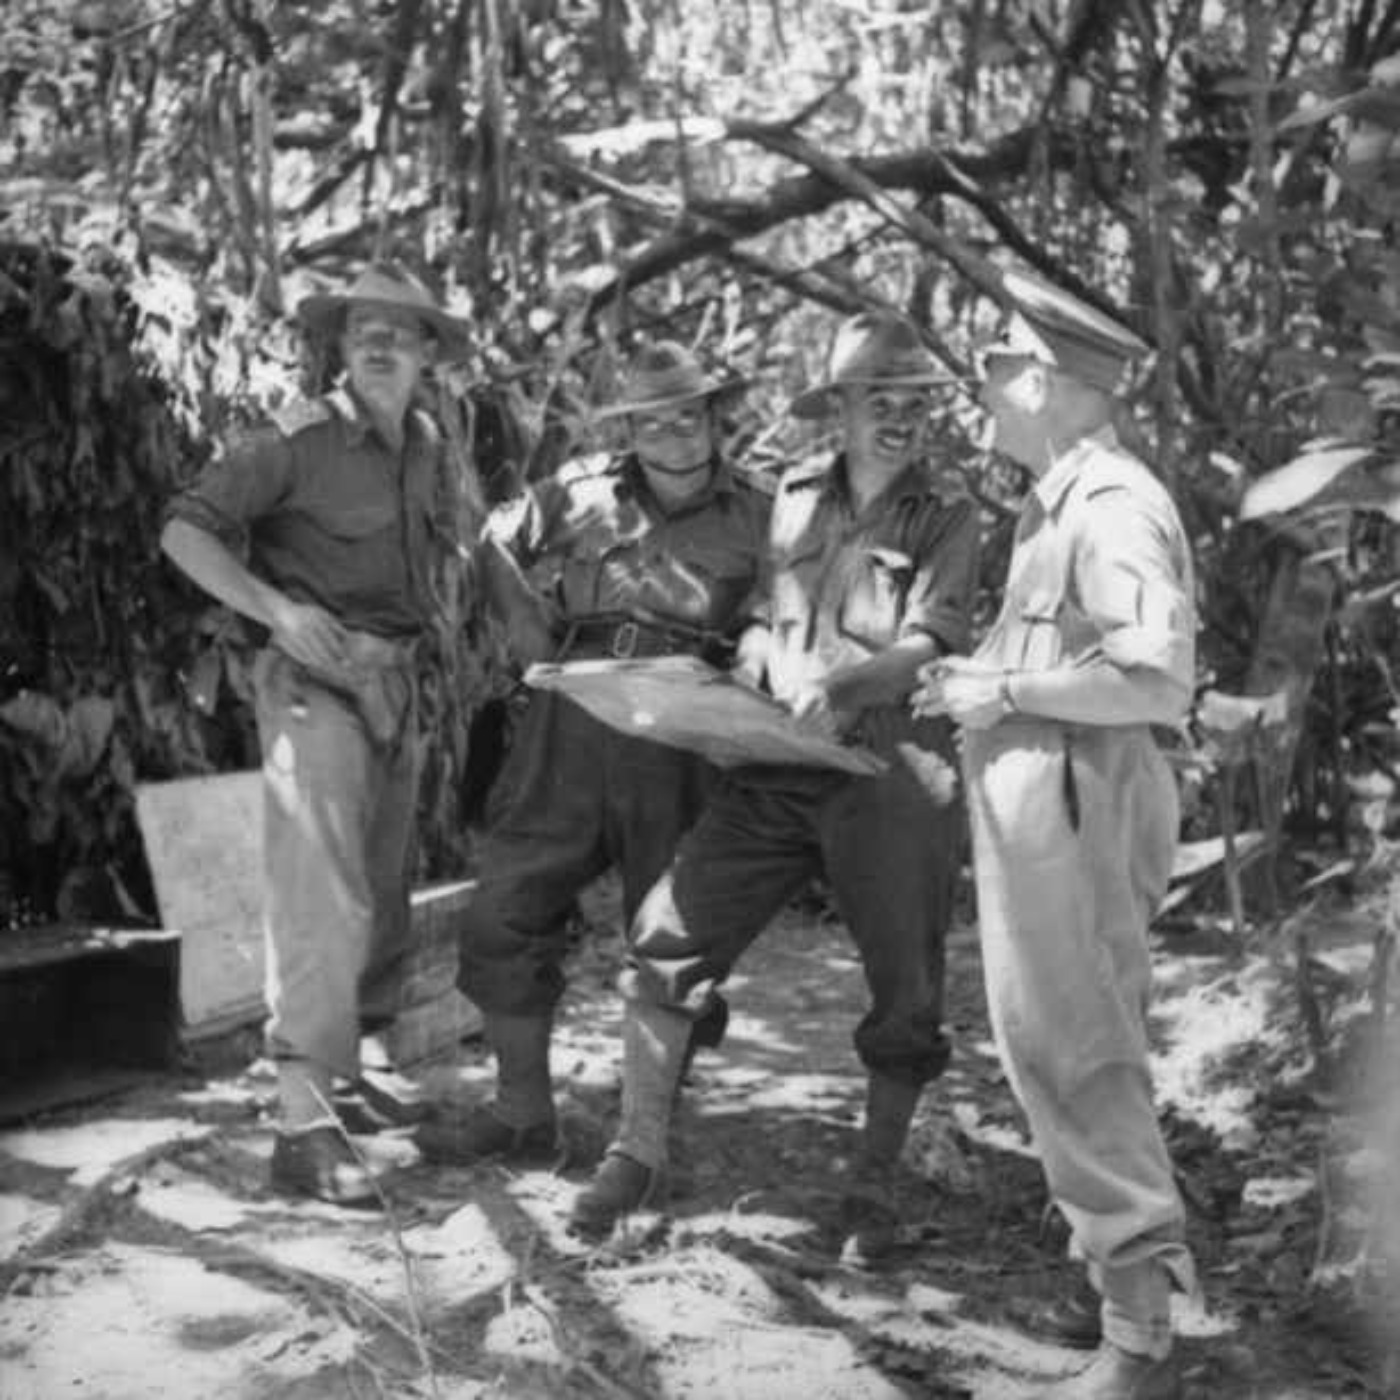
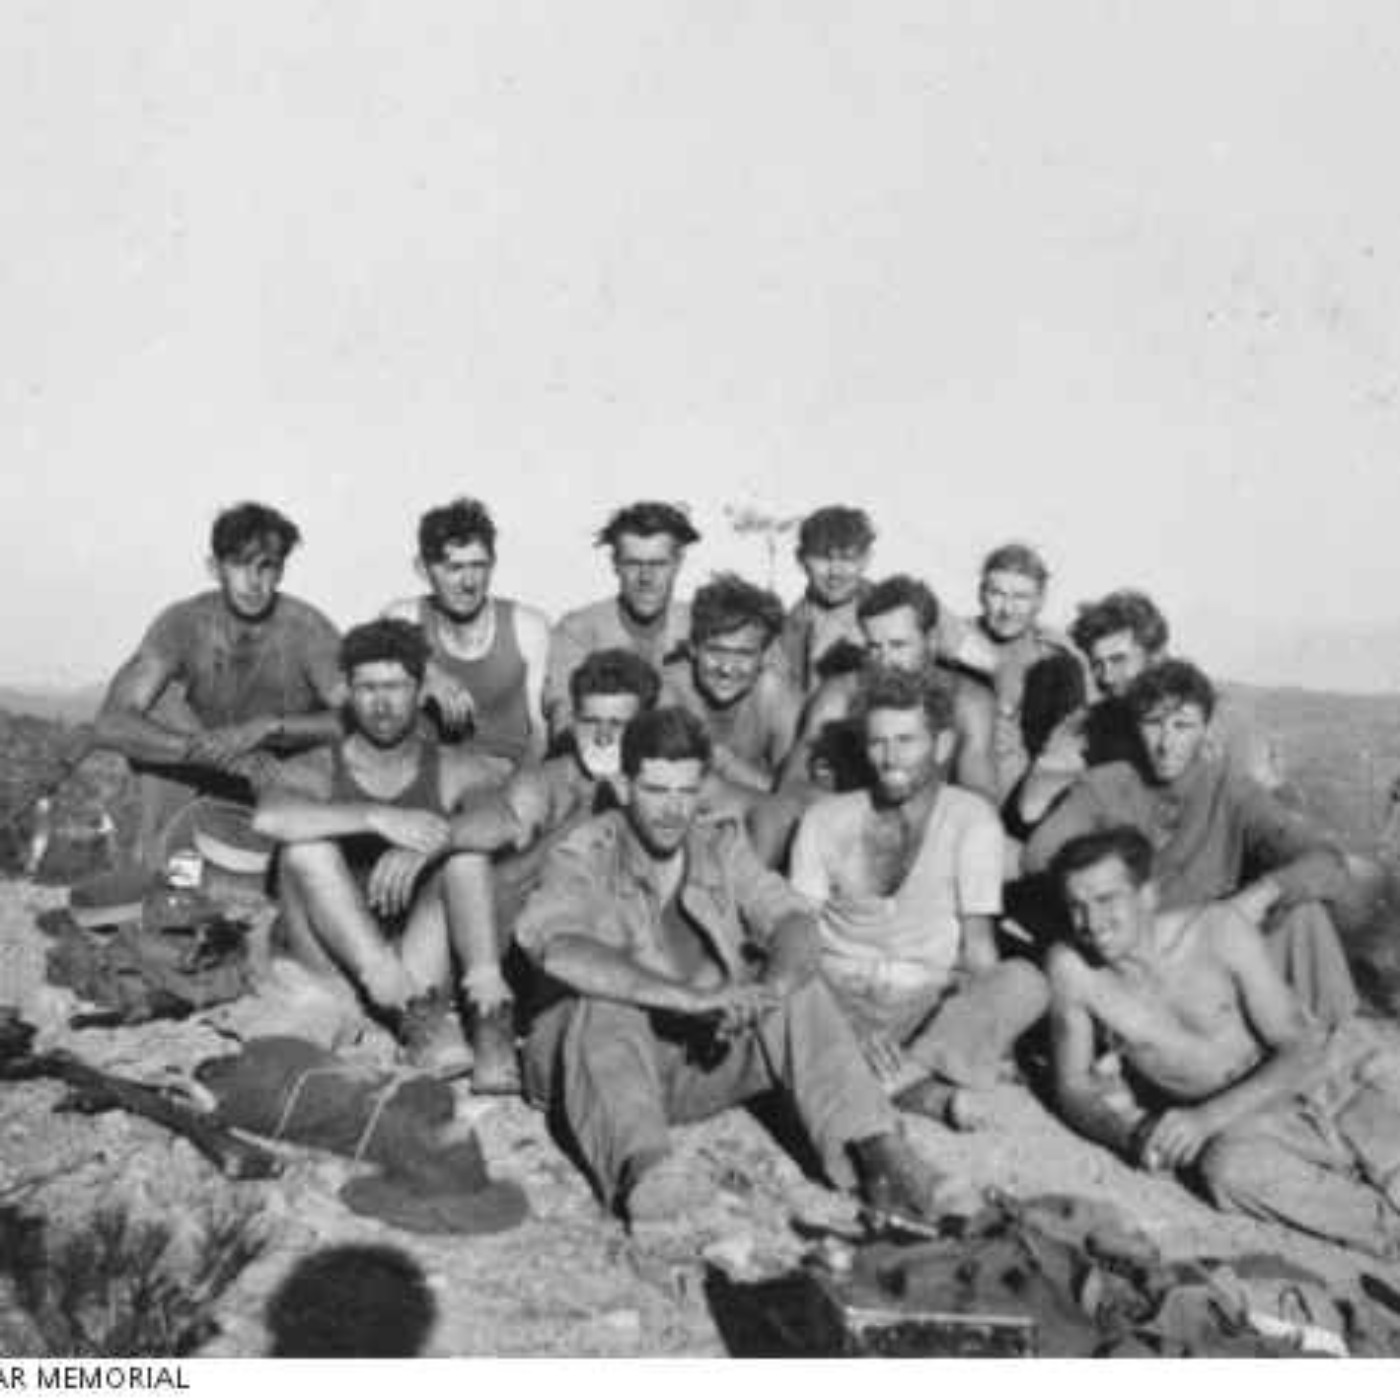
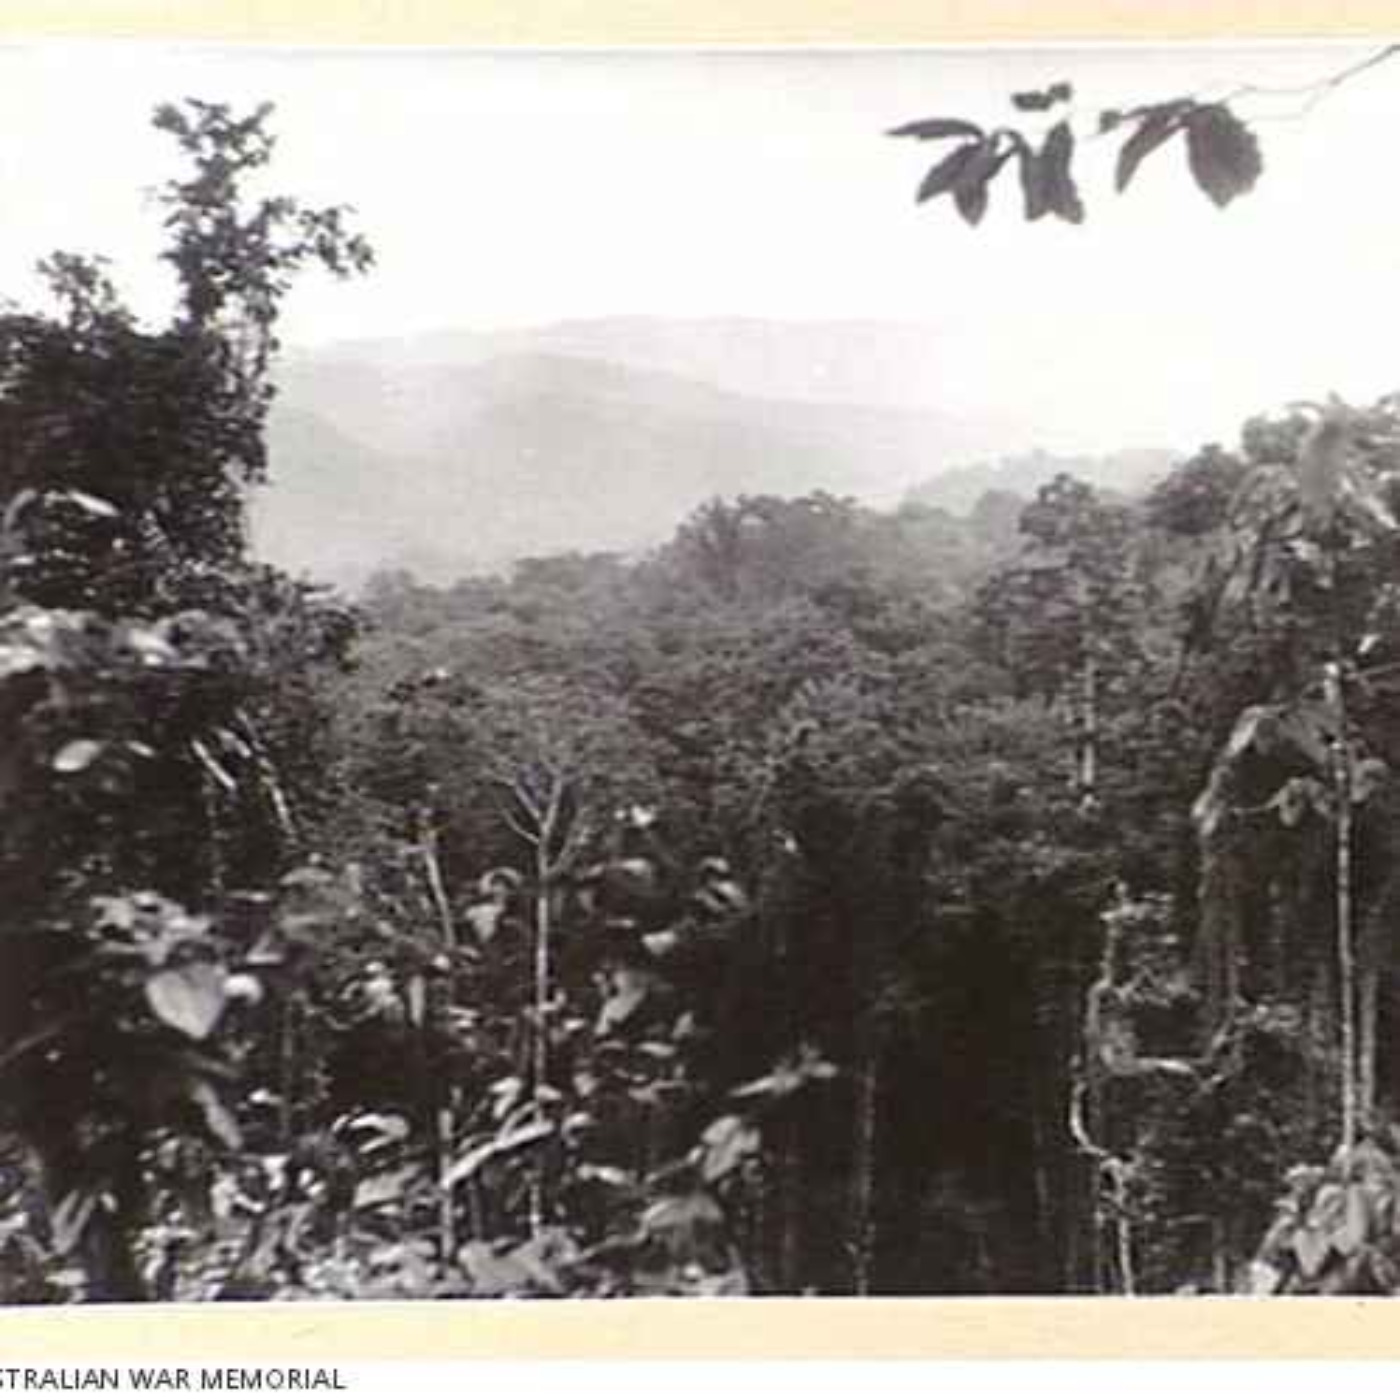
Between Finschhafen and Sattelberg Part 3
The Japanese thrust had managed to drive a wedge between the 24th Brigade and the 20th Brigade of the 9th Division. But the fighting had left the Japa...
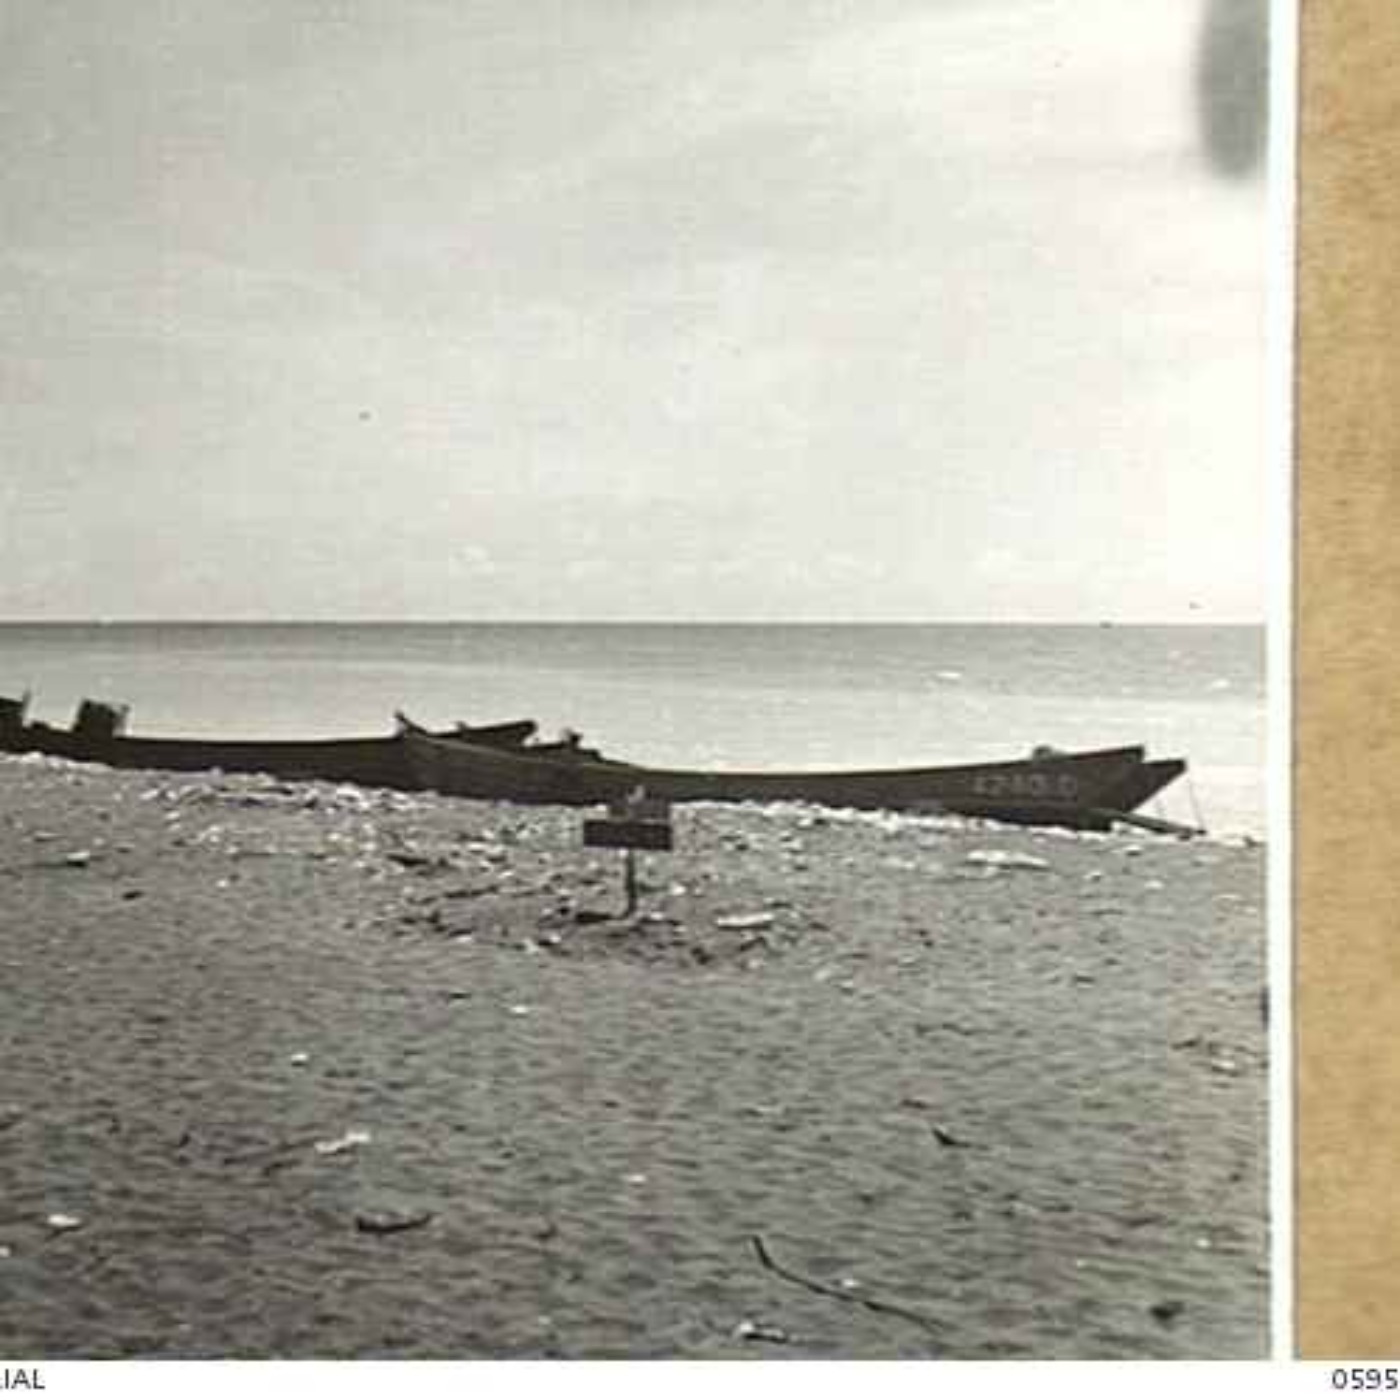
Between Finschhafen and Sattelberg Part 2
Having been forced out of Finschhafen and Jivevaneng, the Japanese forces on the Huon Peninsula launched a counter-attack, aimed at recapturing the Au...
Between Finschhafen and Sattelberg Part 1
With the fall of Finshhafen, the 20th Brigade of the 9th Division was keen to push on to their next major objective in the Huon Peninsula campaign; Sa...
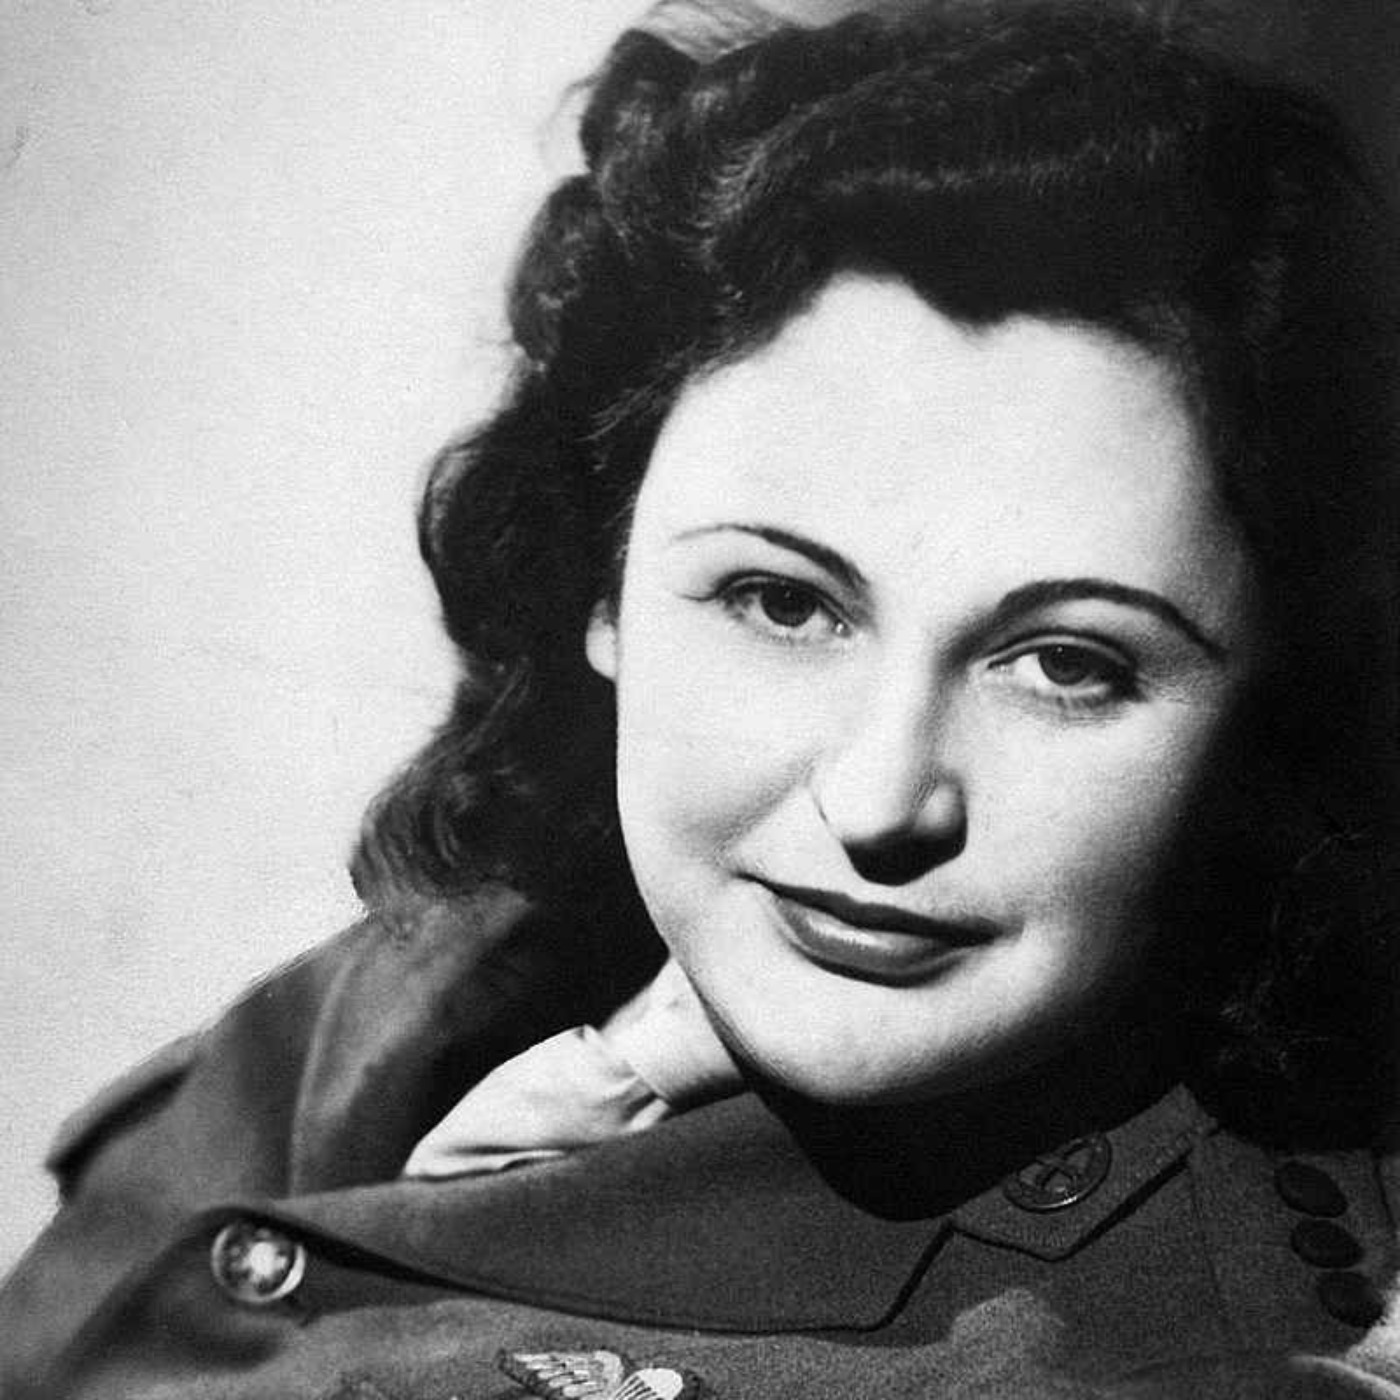
Nancy Wake
Born in New Zealand, Nancy Wake grew up in Australia. At her first opportunity she took off overseas and, after training as a journalist, found hersel...
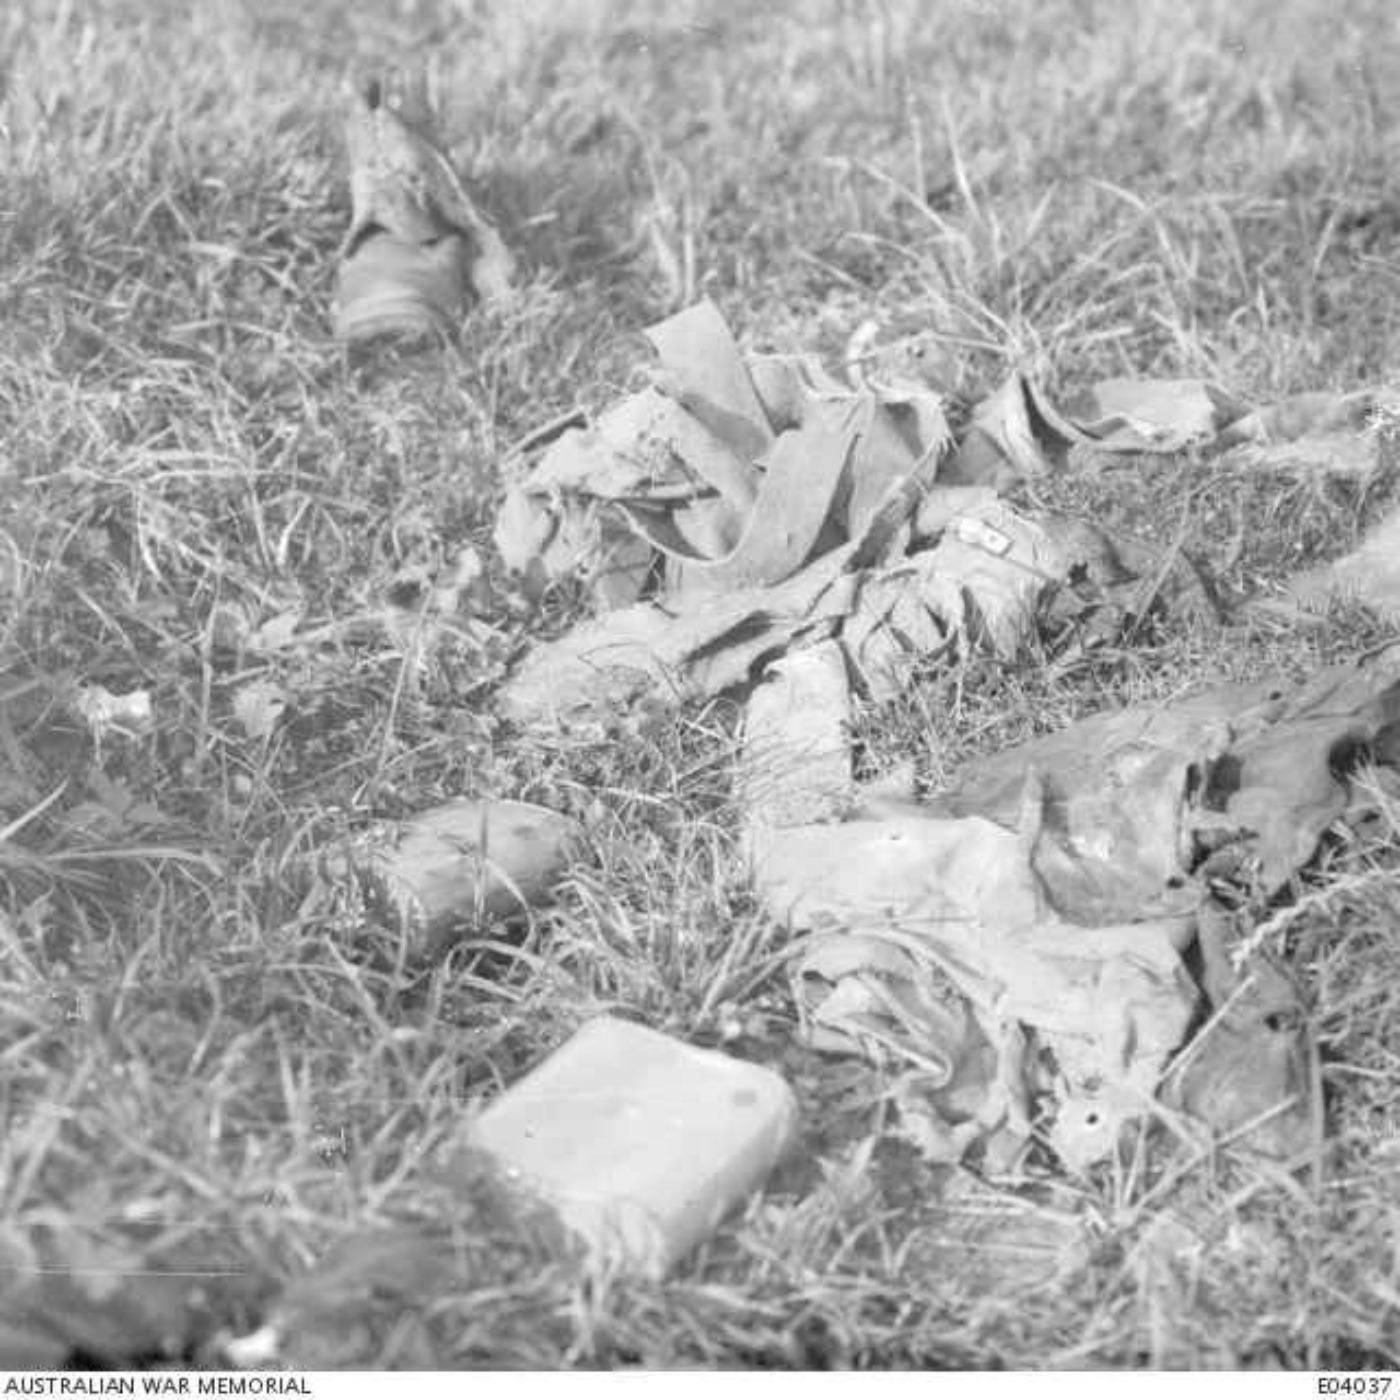
The Battle of Fromelles Part 4
With the 15th Brigade all be annihilated, the 14th and 8th Brigades tried desperately to hold onto their gains. But with their right flank open and th...
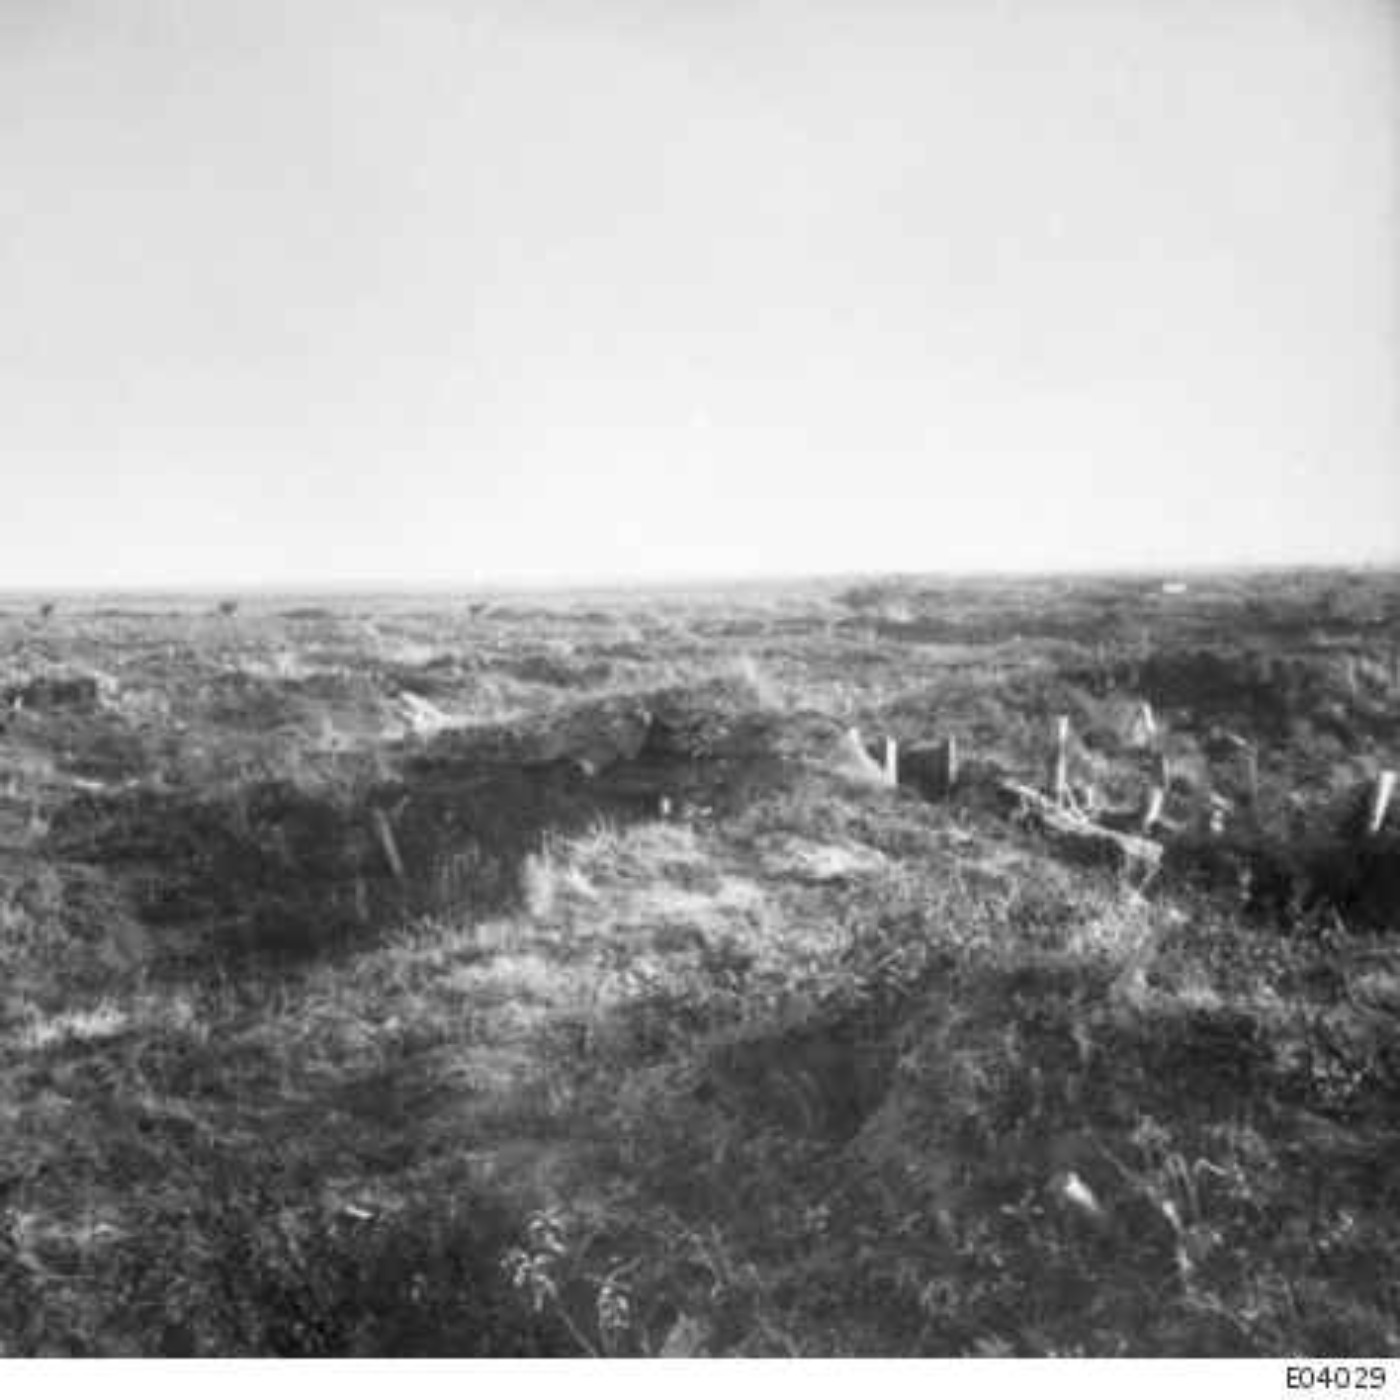
The Battle of Fromelles Part 3
With the initial attack halted, the men of the 5th Australian Division set about holding onto what they had managed to take. But confusion and lack of...
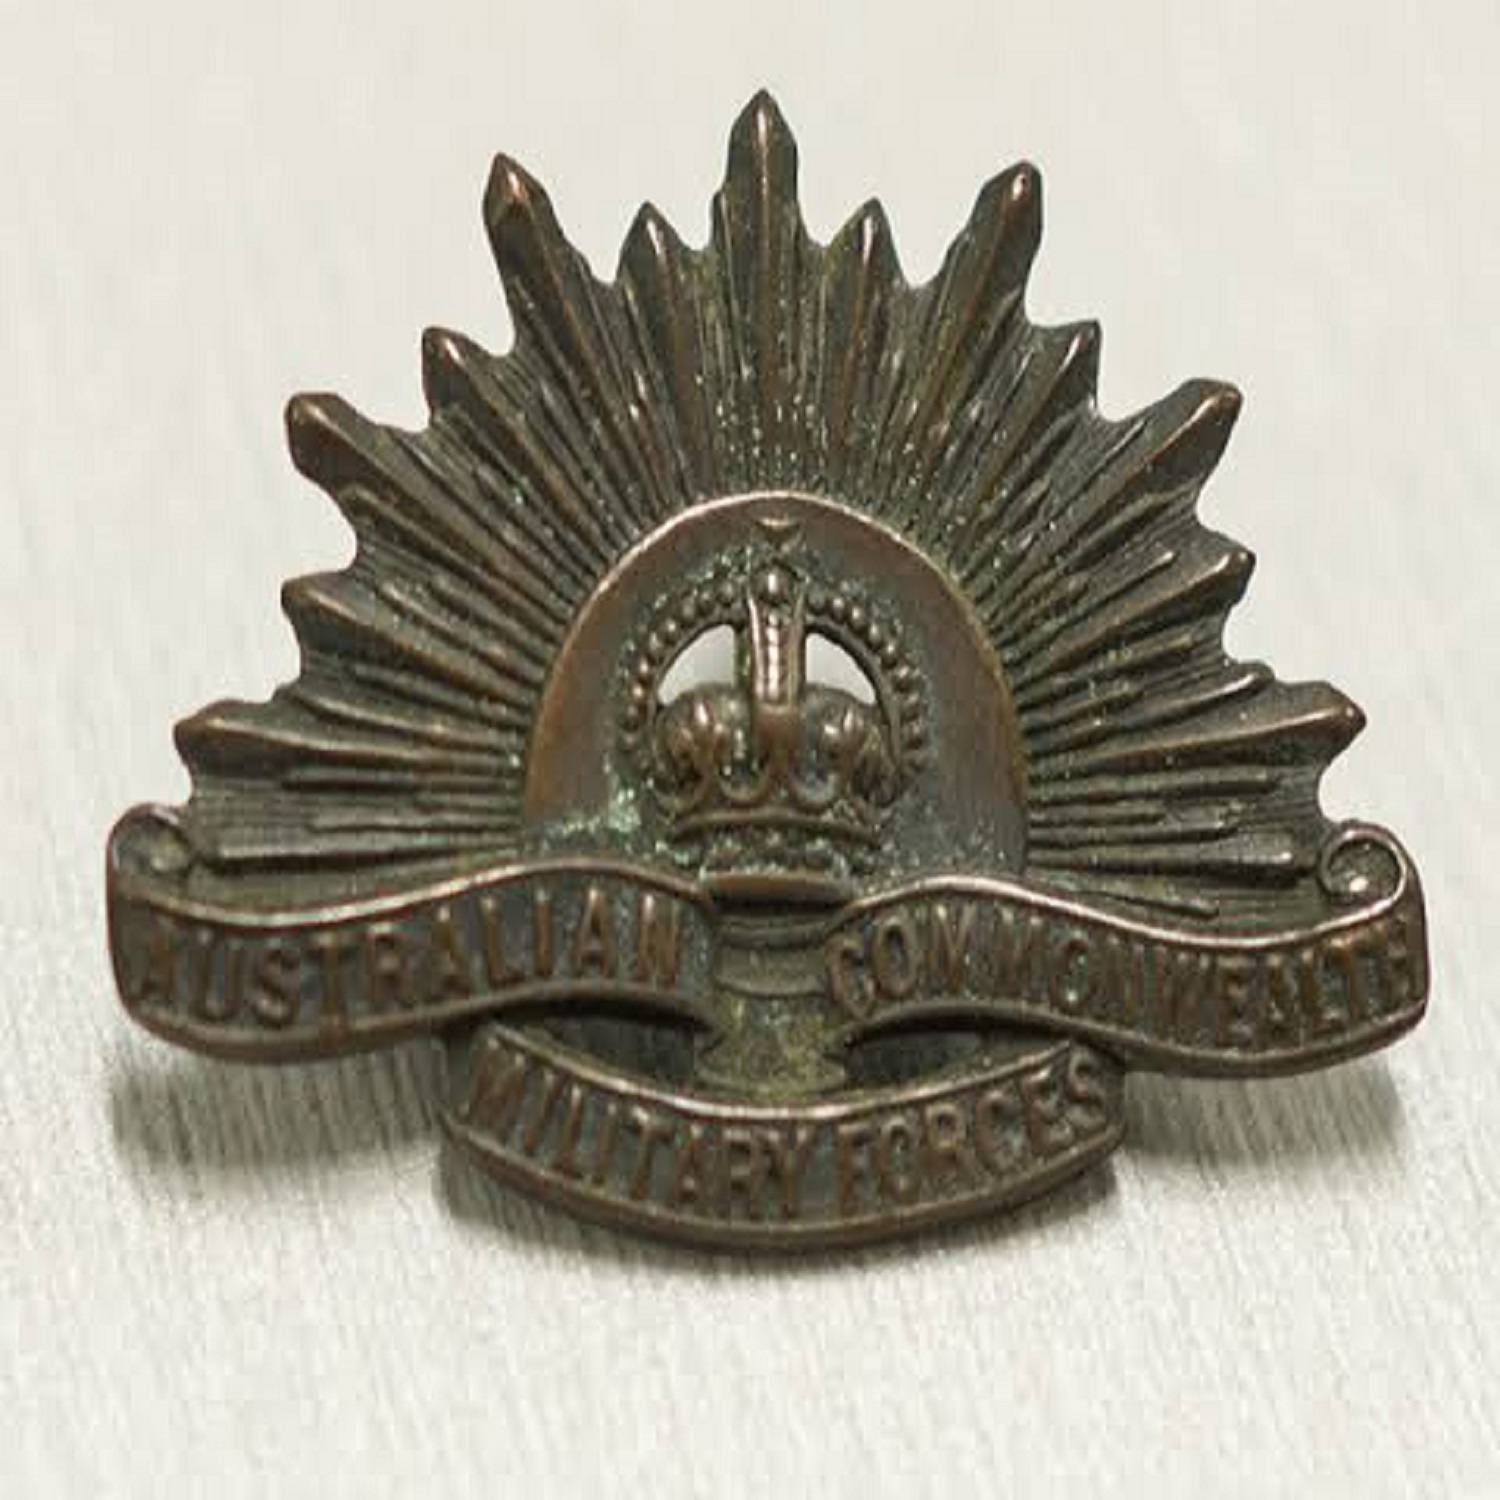
Military Structure
As promised, something to break up the Fromelles episodes a bit. I present unto Thee an attempt to explain the structure of the Australian Army throug...
The Battle of Fromelles Part 2
With all the planning done and dusted, there was nothing left to do except get going. The British 183rd and 184th Divisions, forming the right flank o...

The Battle of Fromelles Part 1
On 1st July 1916, General Haig launched his now infamous Somme Offensive. The opening days had been disastrous and something needed to be done to assi...
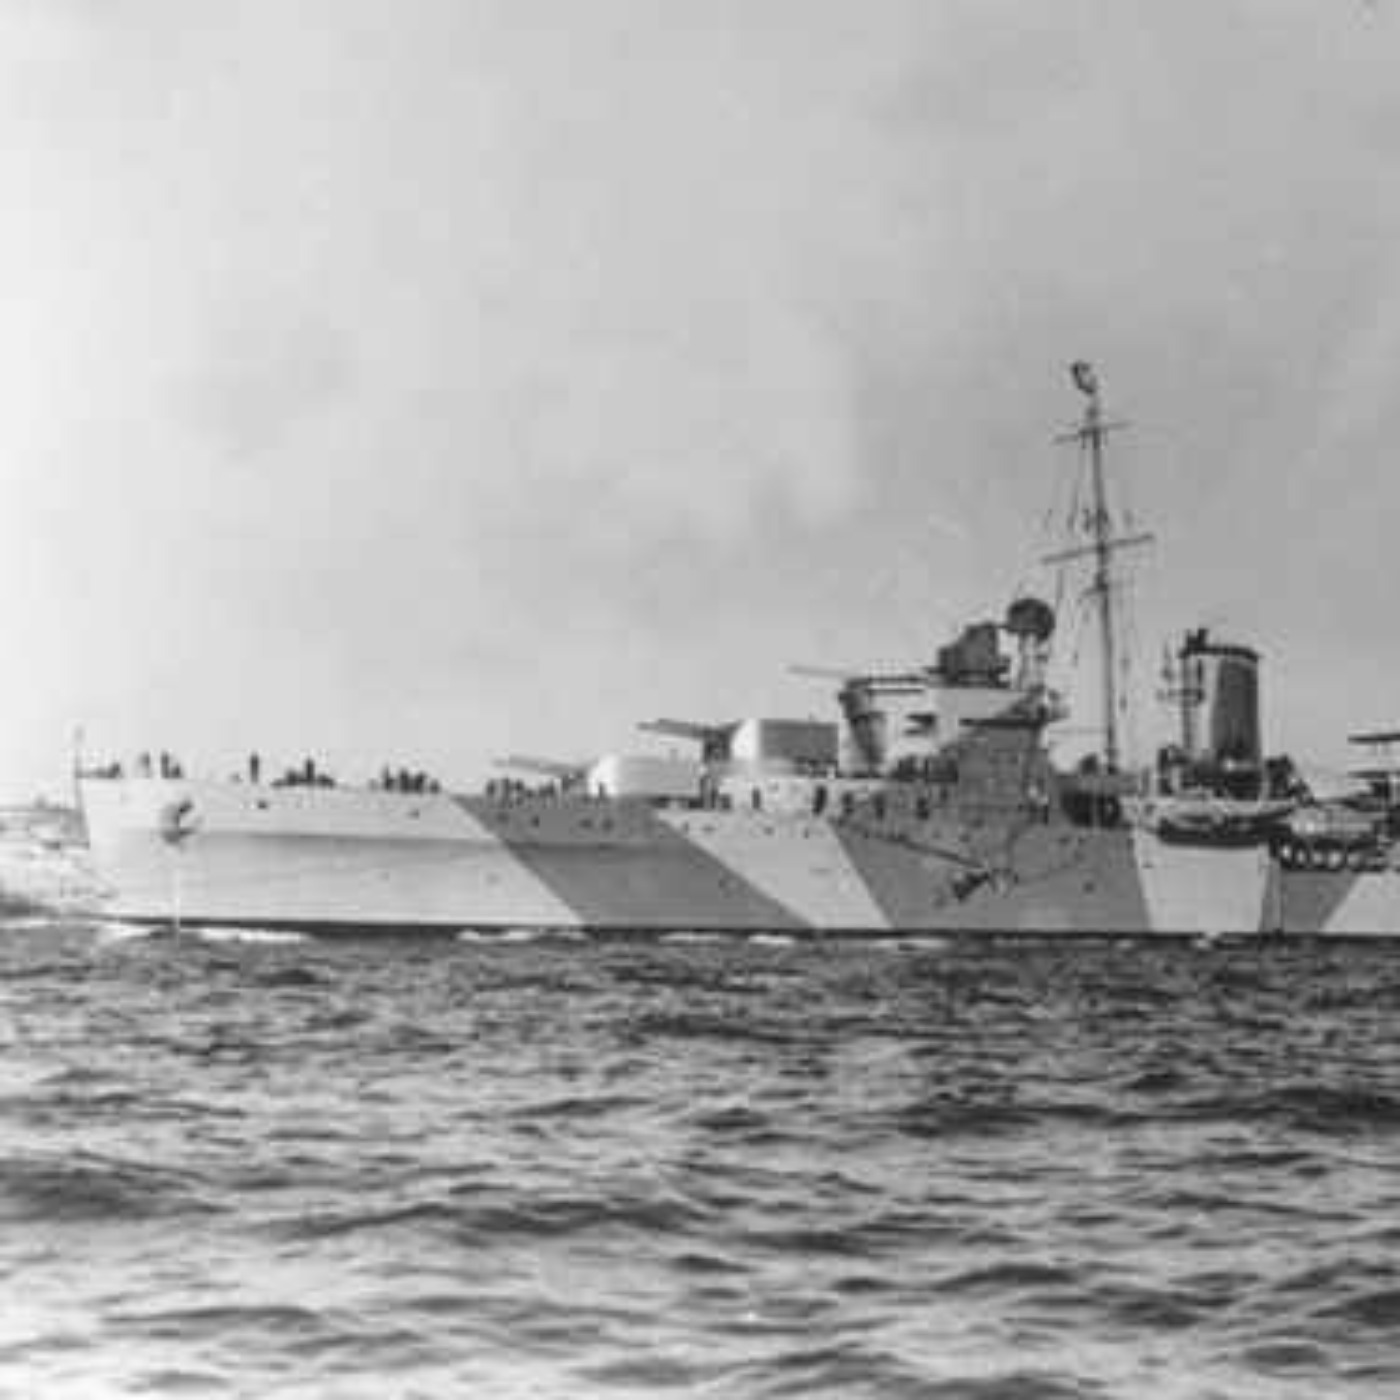
HMAS Sydney (II)
Taken on strength with the Royal Australian Navy between the wars and named for her sister ship who had sunk the German raider Emden during WW1, HMAS...
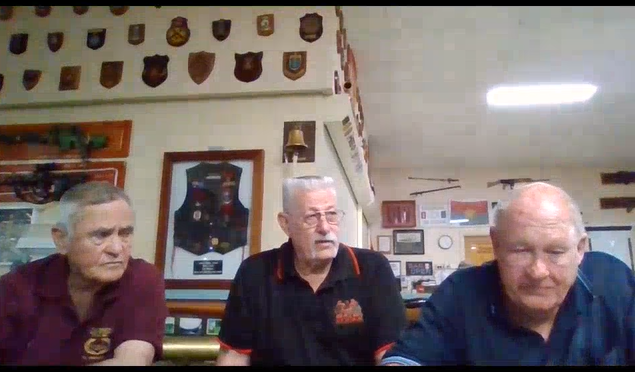
Battle of FSB Coral In Their Own Words
In this episode I am talking with Mal Murray, Peter Harrower and Jim Smith, veterans of the fighting at Fire Support Base Coral. No more needs to be s...

The Battles of FSB Coral and FSB Balmoral
In January 1968, the North Vietnamese Forces launched the Tet Offensive. They suffered server casualties during the opening phases of this attack and...
The Battle of Retimo
After the evacuation of Greece, New Zealand, British and Australian troops prepared to defend the airfields of Crete. The Australians concentrated on...
Brallos Pass
As the fighting at Pinios Gorge was reaching its peak, the majority of W Force moved back through Larissa heading for the next defensive position on t...
Pinios Gorge
With the Germans pushing through the Metaxas Line, their invasion of Greece gained momentum as they pushed south. The British, Australian and New Zeal...
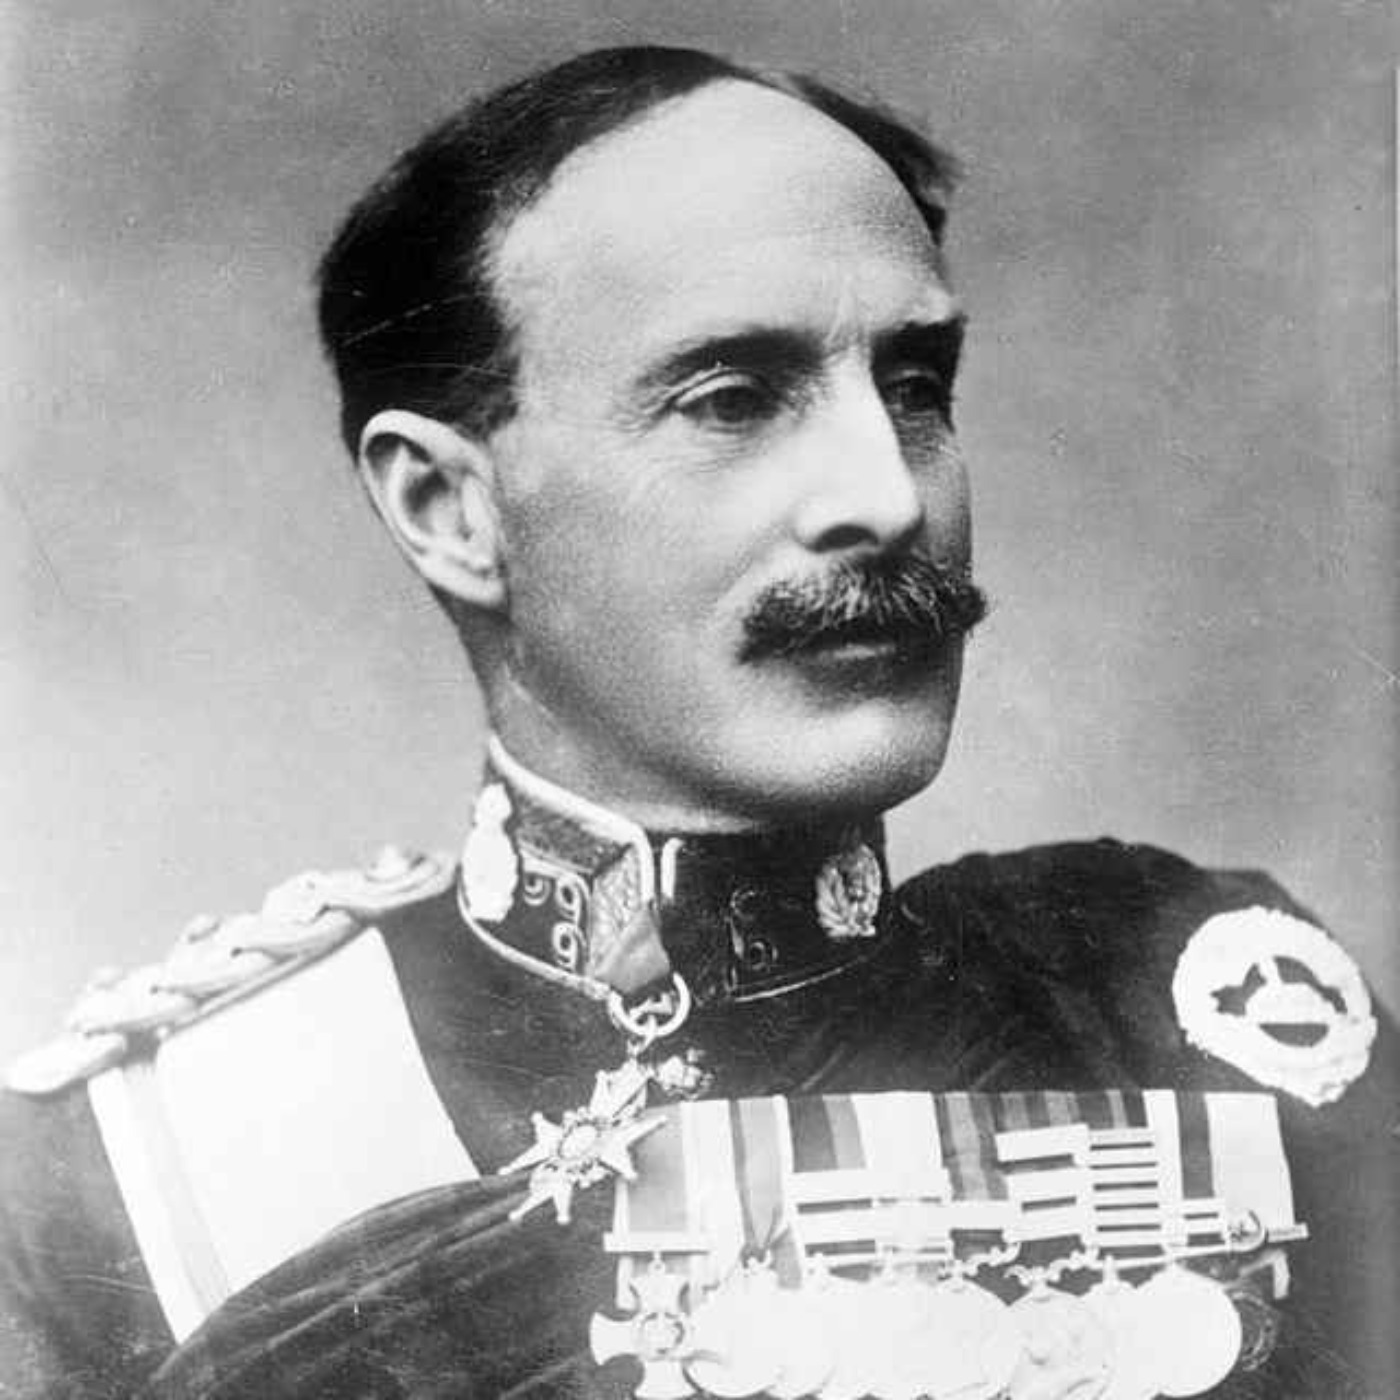
Major James Francis Thomas
As the defence lawyer for Morant, Handcock and Whitton during the Boer War, the story of Major Thomas is often overshadowed by events of the Courts Ma...
The Battle of Maryang San Part 3
With Hill 317 in the safe hands of 3RAR, all that remained was for the Royal Northumberland Fusiliers to take Hill 217 and 3RAR to take Sierra feature...
The Battle of Maryang San Part 2
With Hill 355 secured, the focus of the fighting turned to the main objective, Hill 317 and its neigbouring feature Hill 217. 3RAR would make the assa...
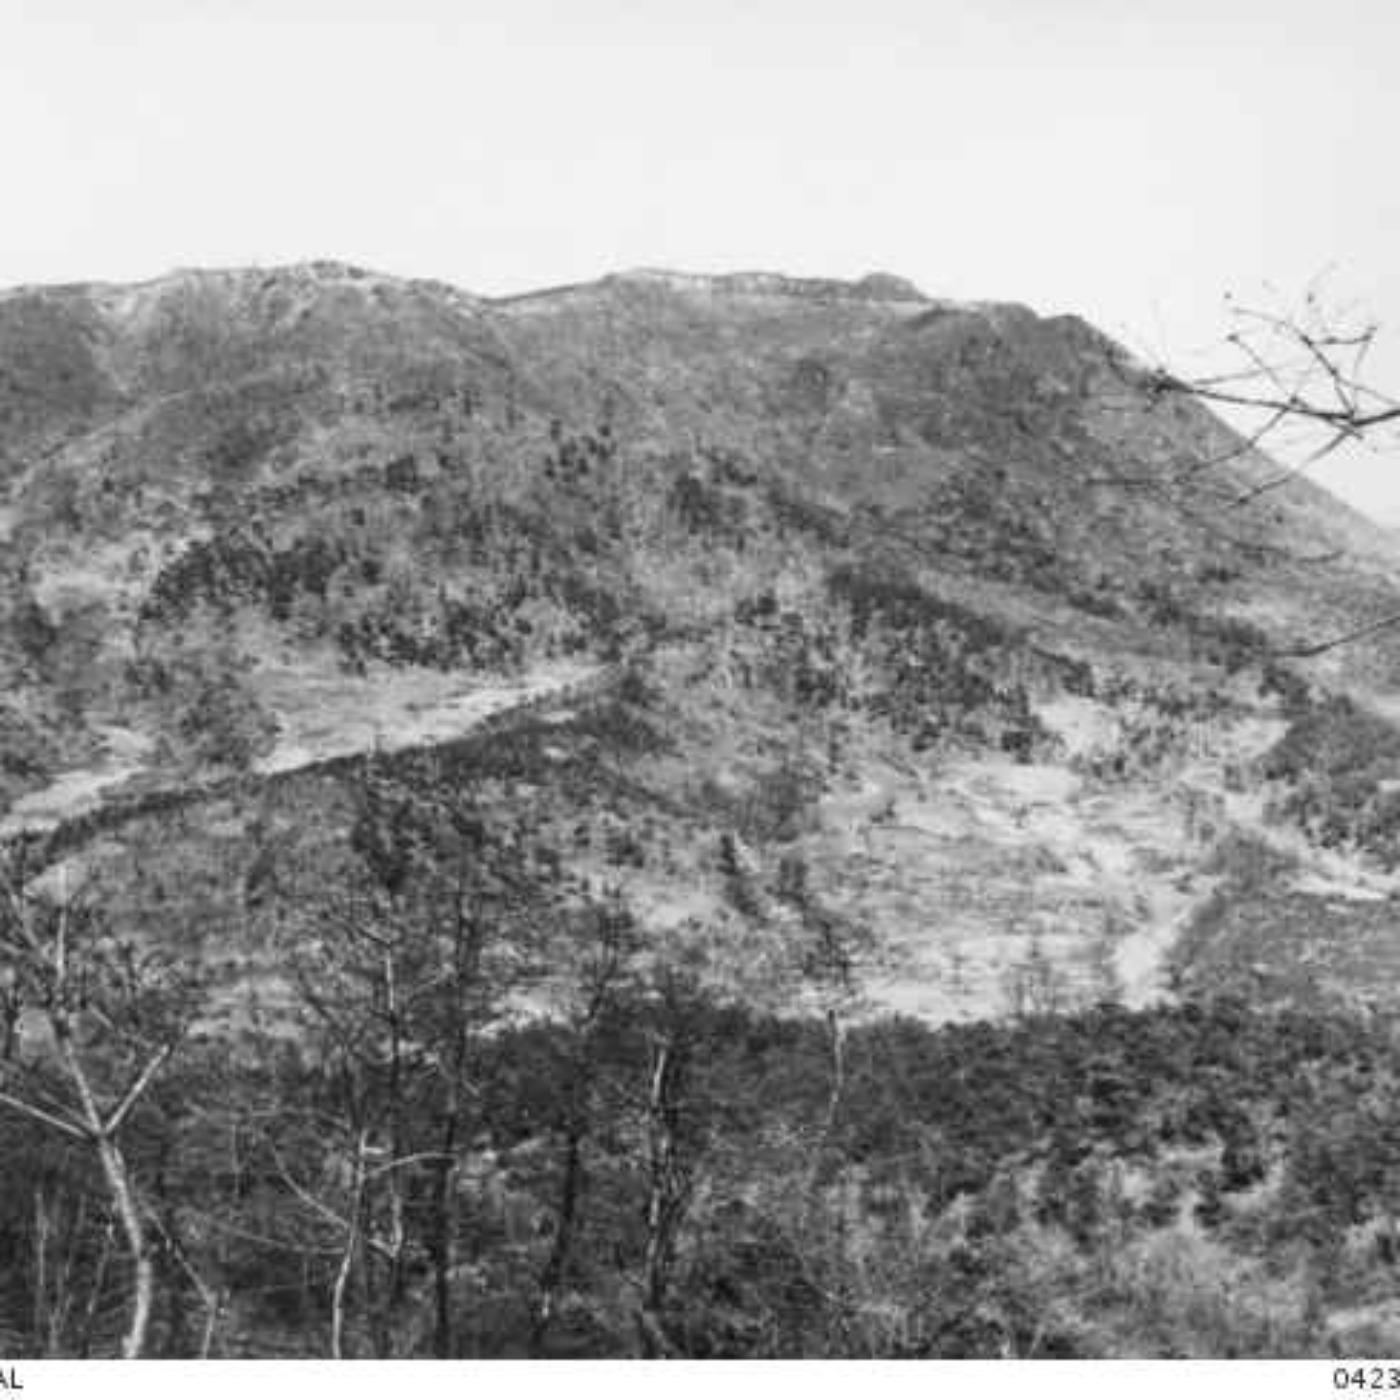
The Battle of Maryang San Part 1
In 1951 the combatant nations of the Korean War had finally come to the negotiating table, raising hopes that the Korean War would soon be over. But w...
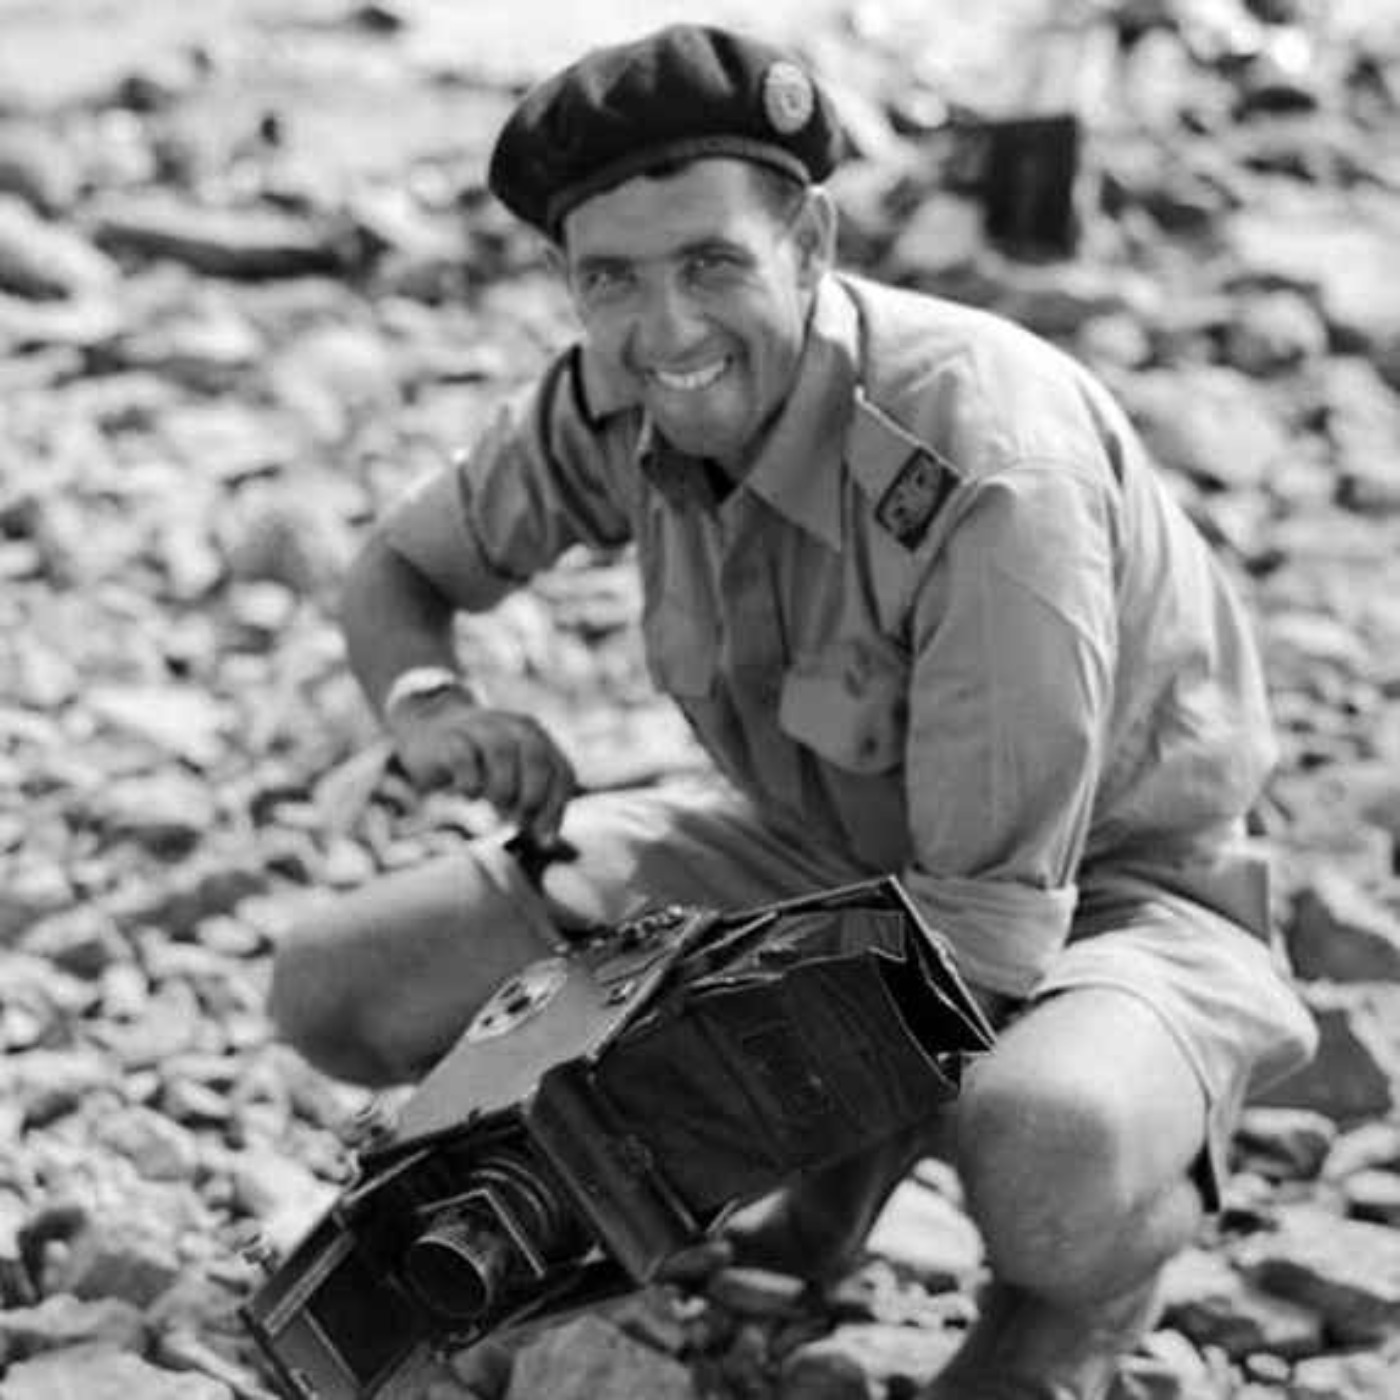
Damien Parer
When the Second AIF headed to war, a little known photographer named Damien Parer was with them. Having made a reputation in the fledgling Australian...
The Fall of Rabaul Part 2
With the port town of Rabaul captured by the Japanese, the men of Lark Force began their retreat. Two main escape routes developed, one to the north a...
A quick one.
If you would like to support the petition to erect a memorial to the Coastwatchers at Hamilton on the Brisbane River, please follow this link.
...
The Fall of Rabaul Part 1
The war in Europe seemed a long way off for the inhabitants of New Britain and there was no real urgency from the Australian Chiefs of Staff to secure...
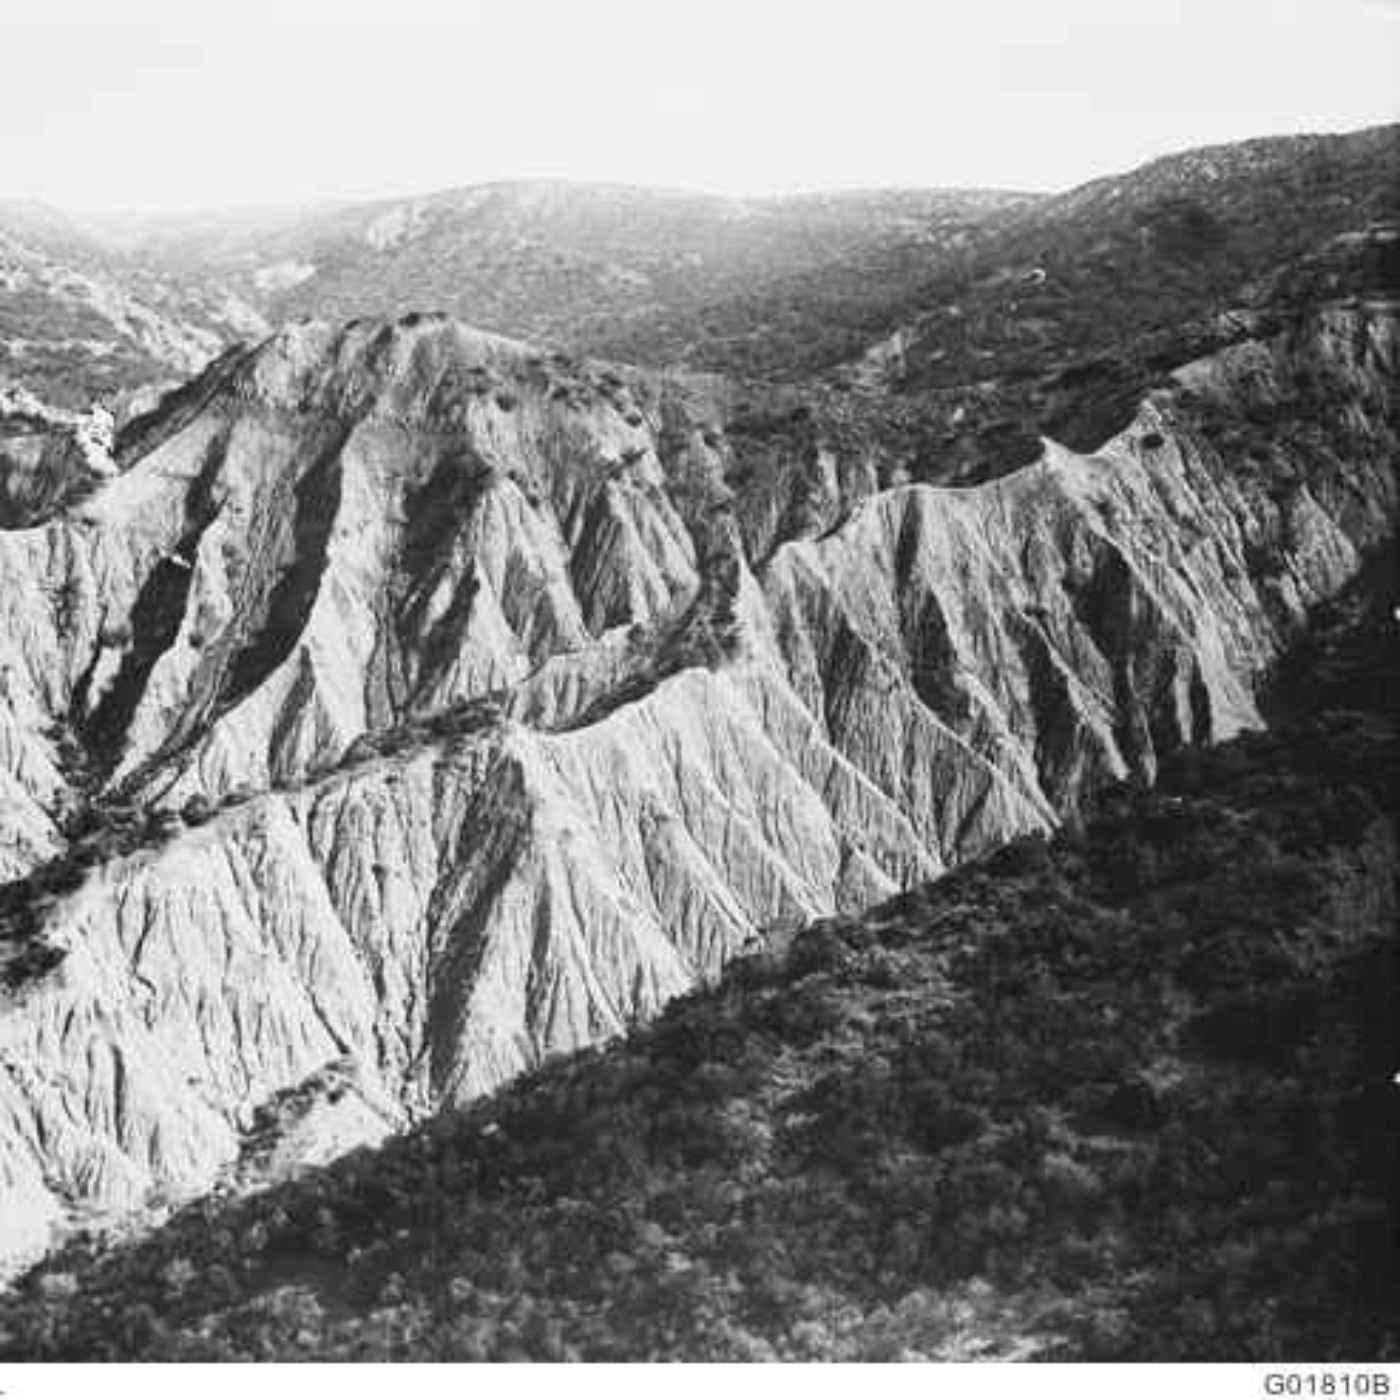
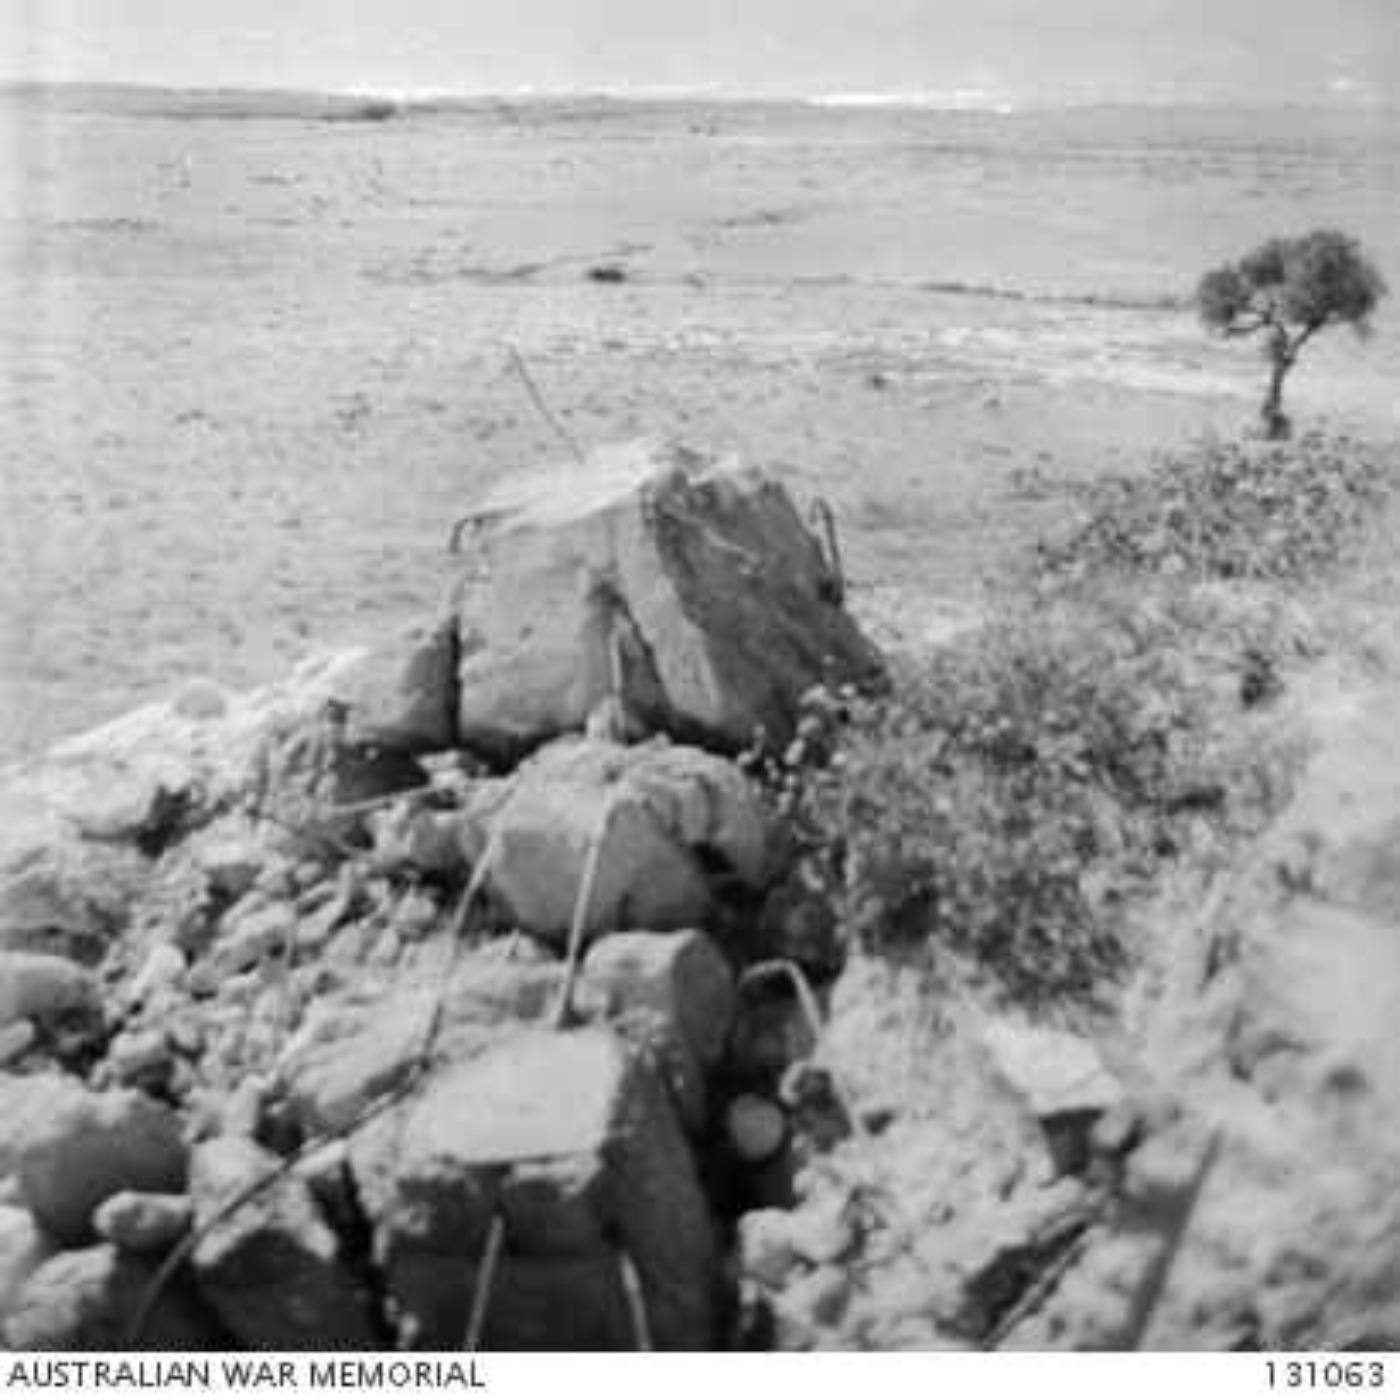
The August 1915 Offensive Part 3
By the morning of the 7th August 1915, British troops were landing at Suvla Bay, , the left assaulting column was taking off for its part in proceedin...
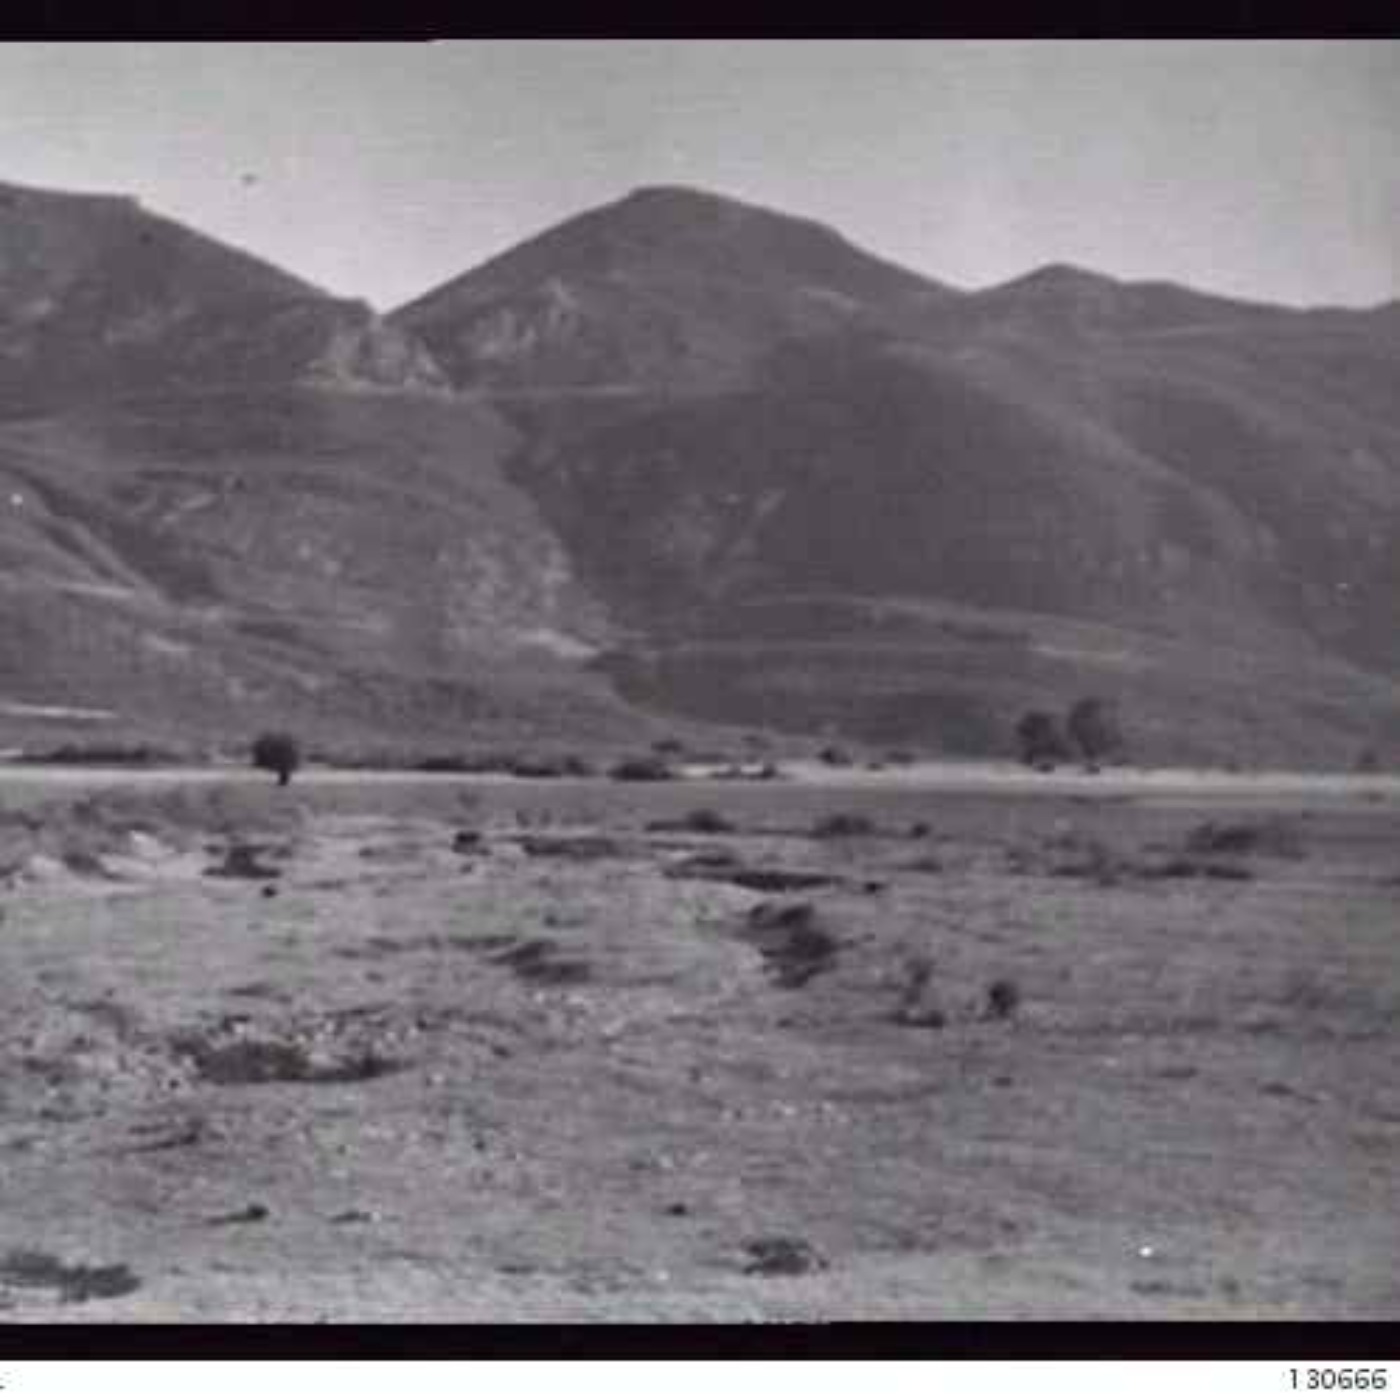
The August 1915 Offensive Part 2
With all the planning in place, it was time to put it all into action. Starting with a diversionary attack from Tasmania Post, the Allied attempt to b...
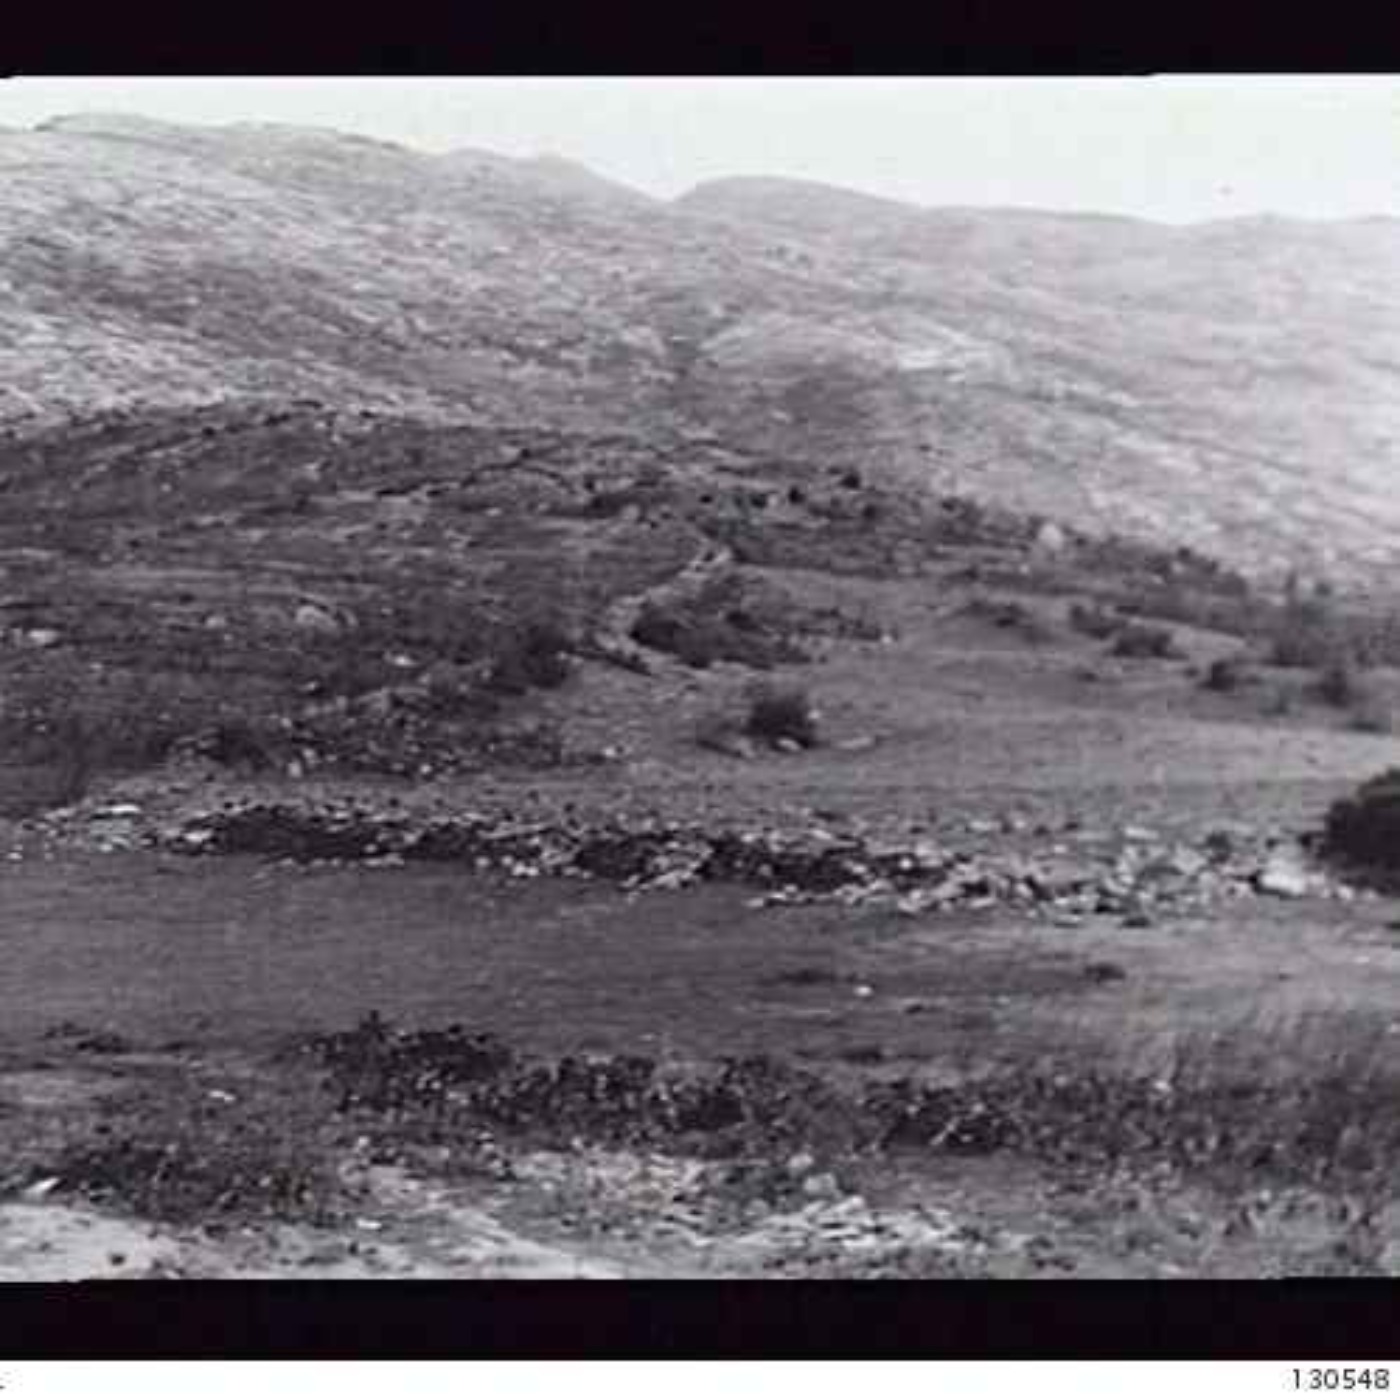
The August 1915 Offensive Part 1
By August 1915, the Gallipoli Campaign had ground to a halt. Thousands of Allied troops had advanced not much further than they had on the first day o...
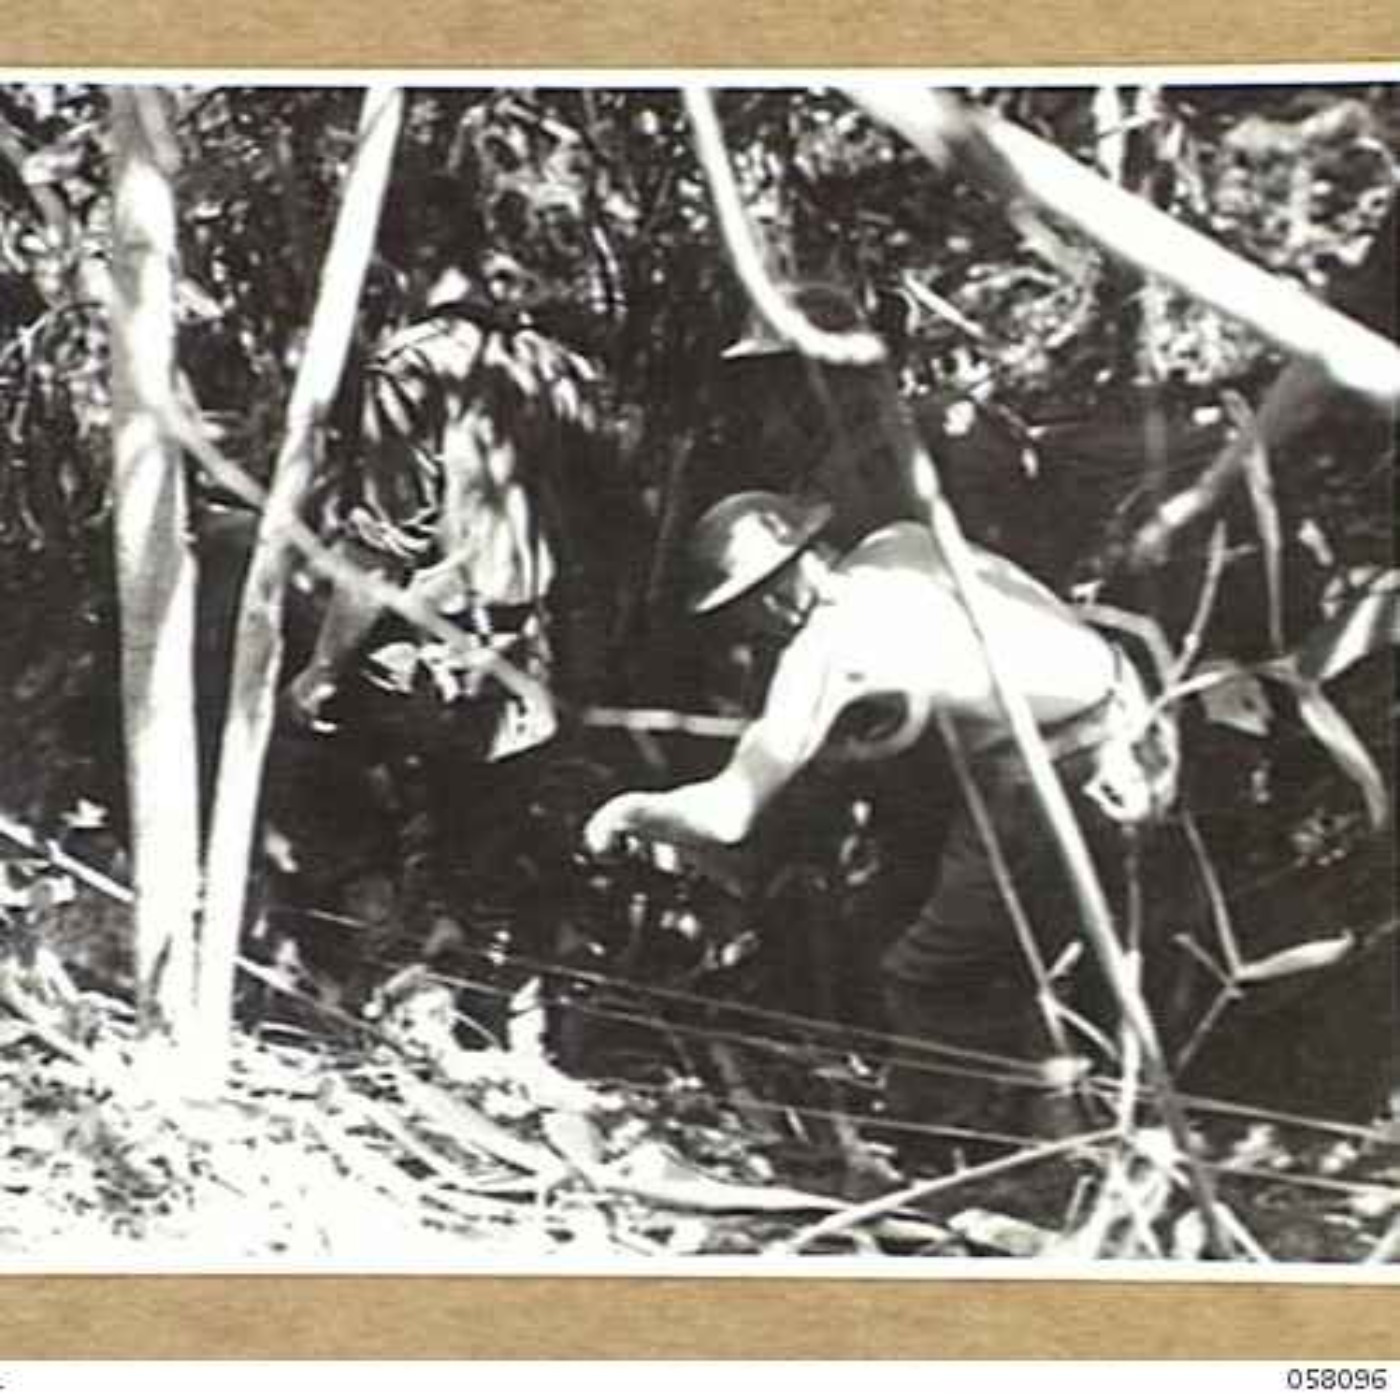
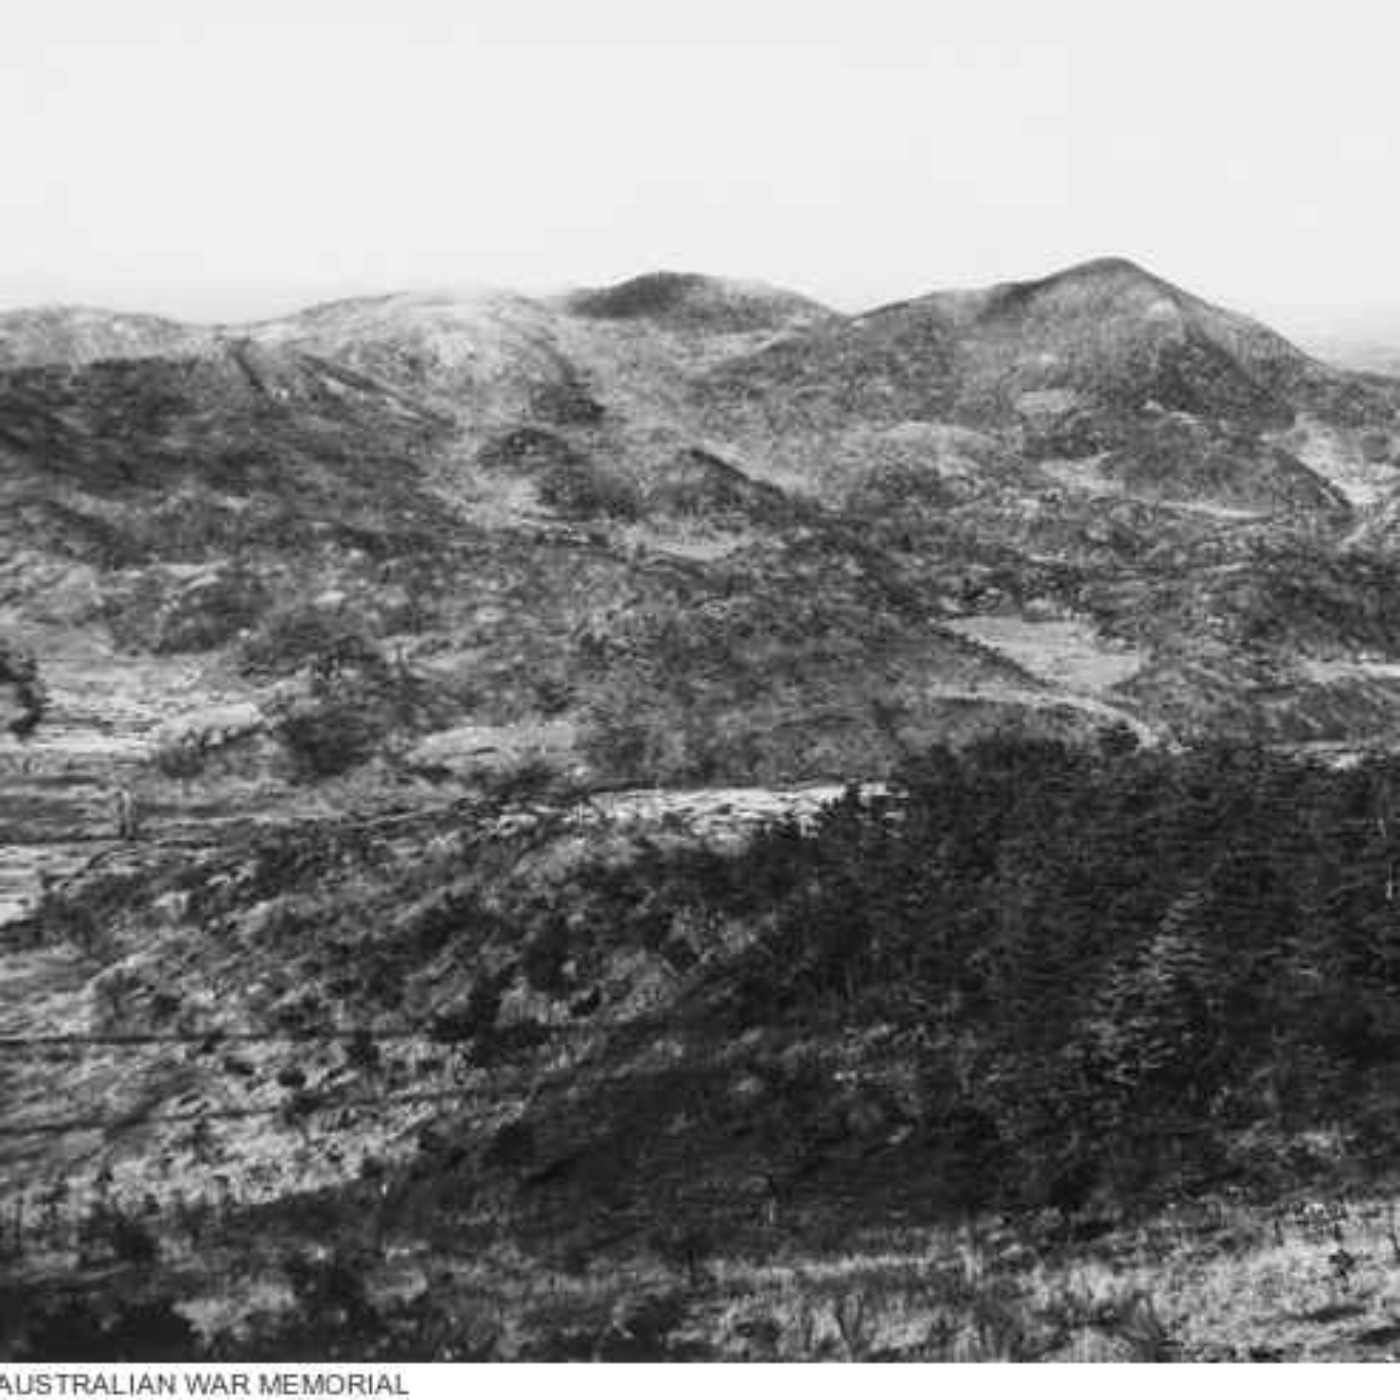
Battle of Finschhafen Part 3
With the battle on a knife's edge, General Windeyer has to decide where to send his 20th Brigade for the best chance at finally breaking into Finschha...